


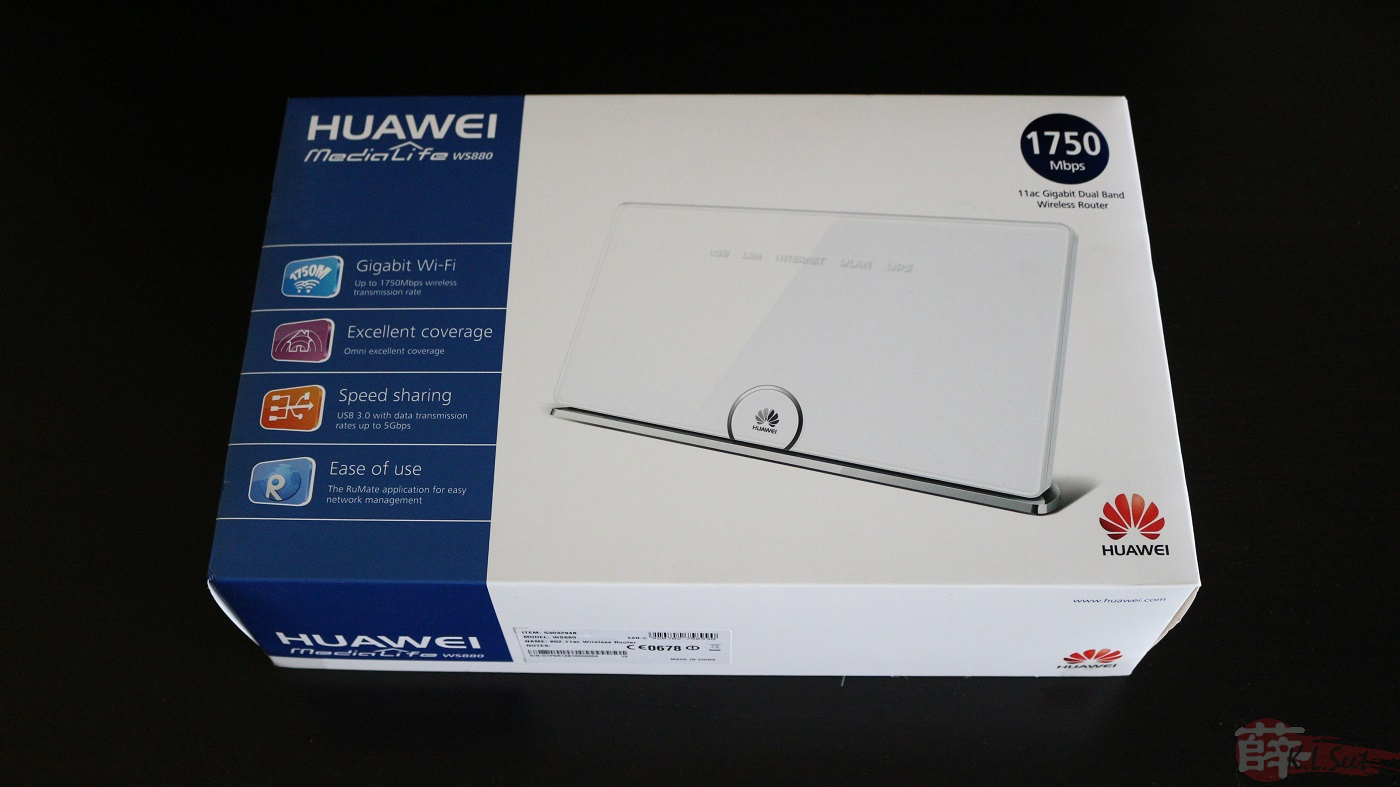
Huawei WS880 UniFi Ready
Broadcom BCM4708 2Cores CPU @800MHz, 128/128MB Flash/RAM size
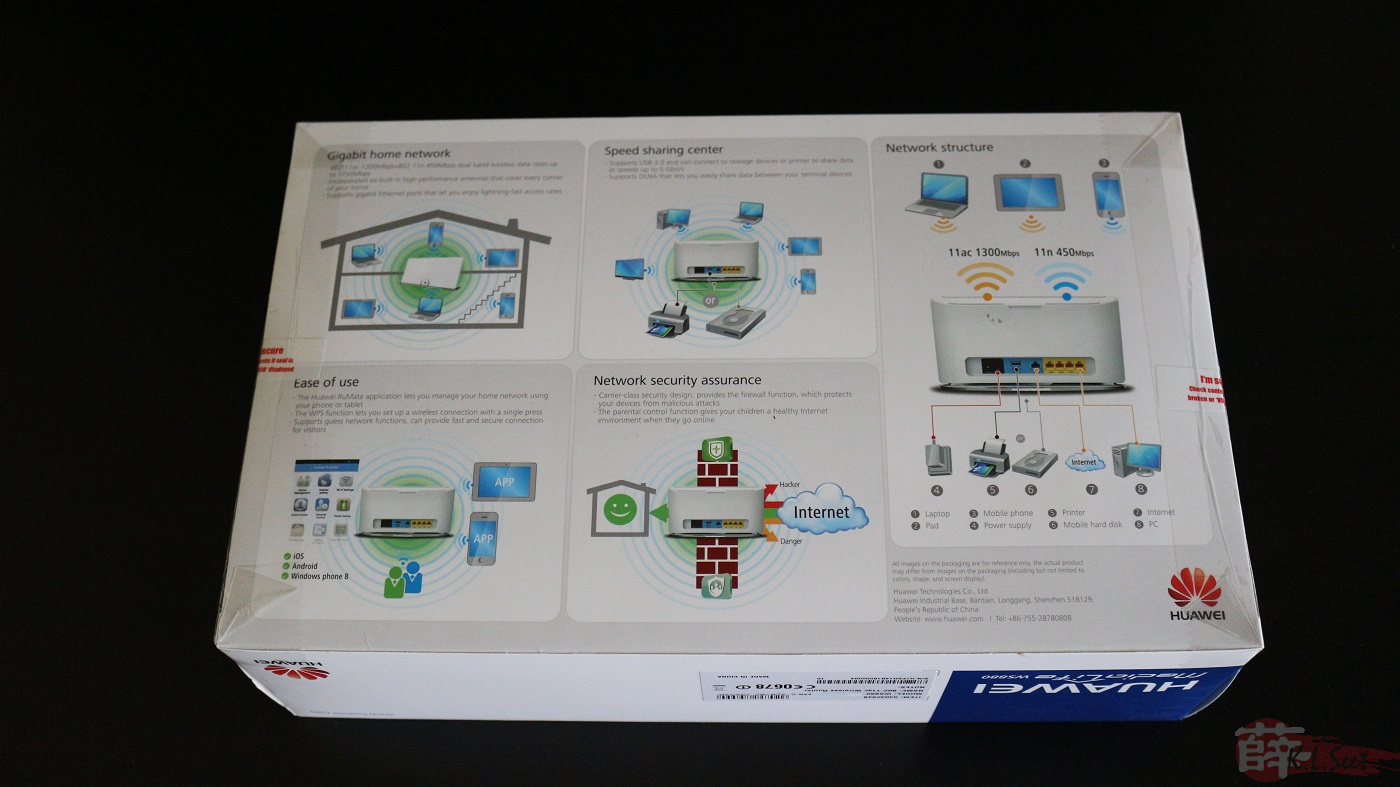
MIMO 3x3:3 AC1750 : 2.4GHz ~450Mbps / 5GHz ~1300Mbps
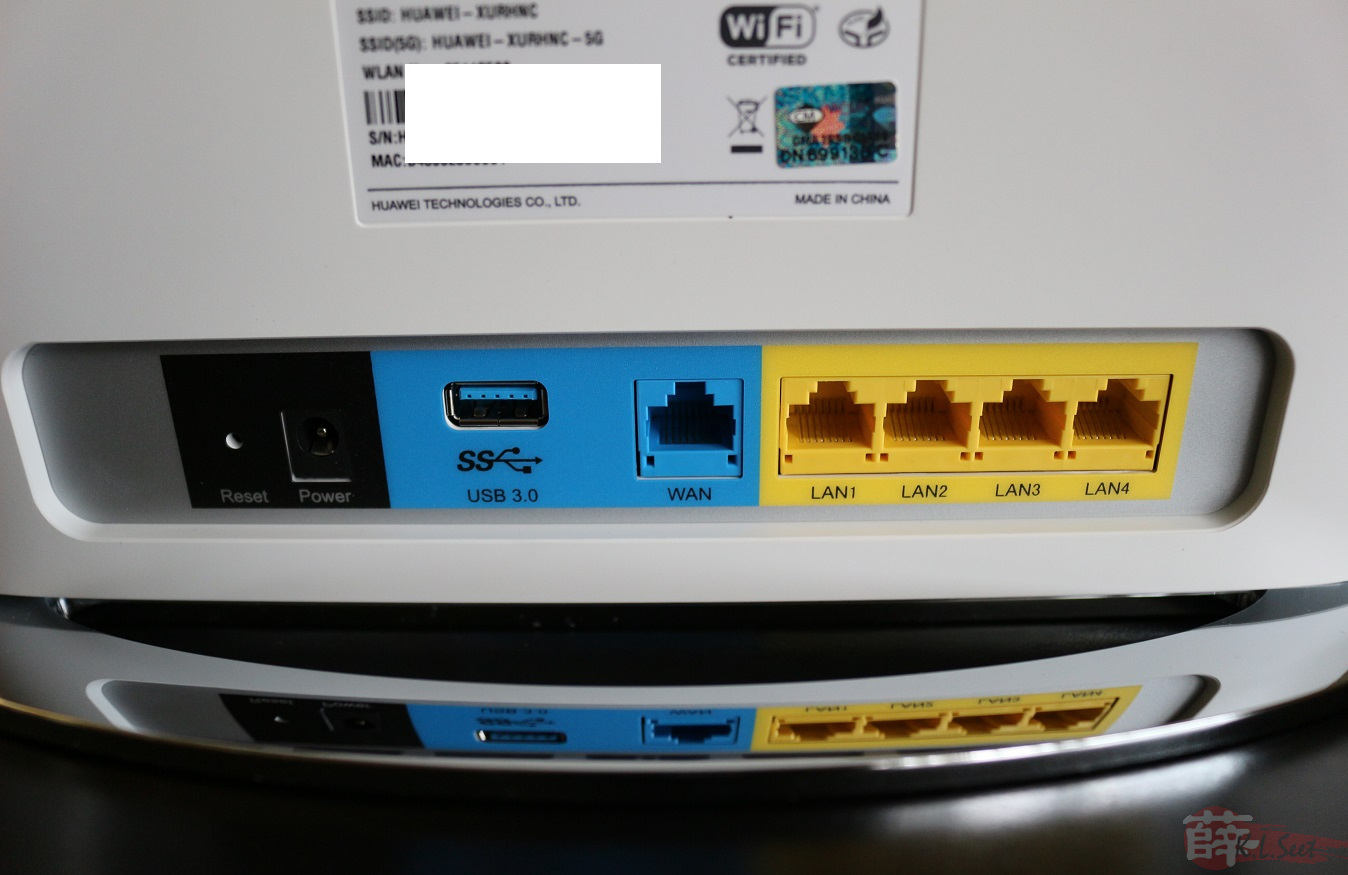
Gigabit ports, 1xUSB3, UniFi Custom FW (Vlan.500 & 600 ready)
This dual-band AC1750 router was released 2 years back, recently it was selling at unbelievable price of RM199 at Sri Computer @LowYat Plaza 

I was at LowYat Plaza around mid of last month July, surprised to see this AC1750 router was on clearance sales, it even support UniFi out of the box, definitely worth buying !
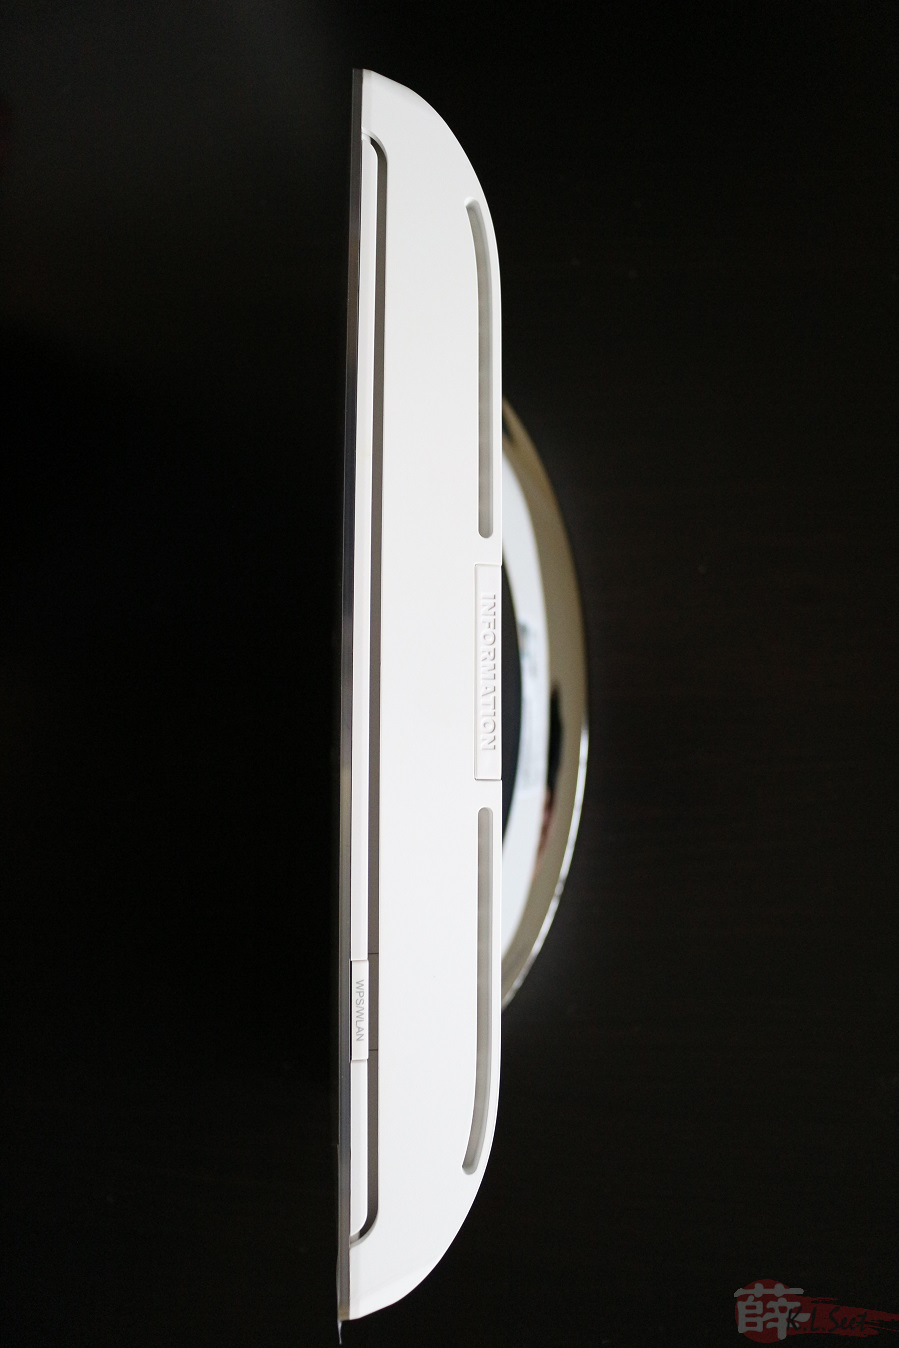
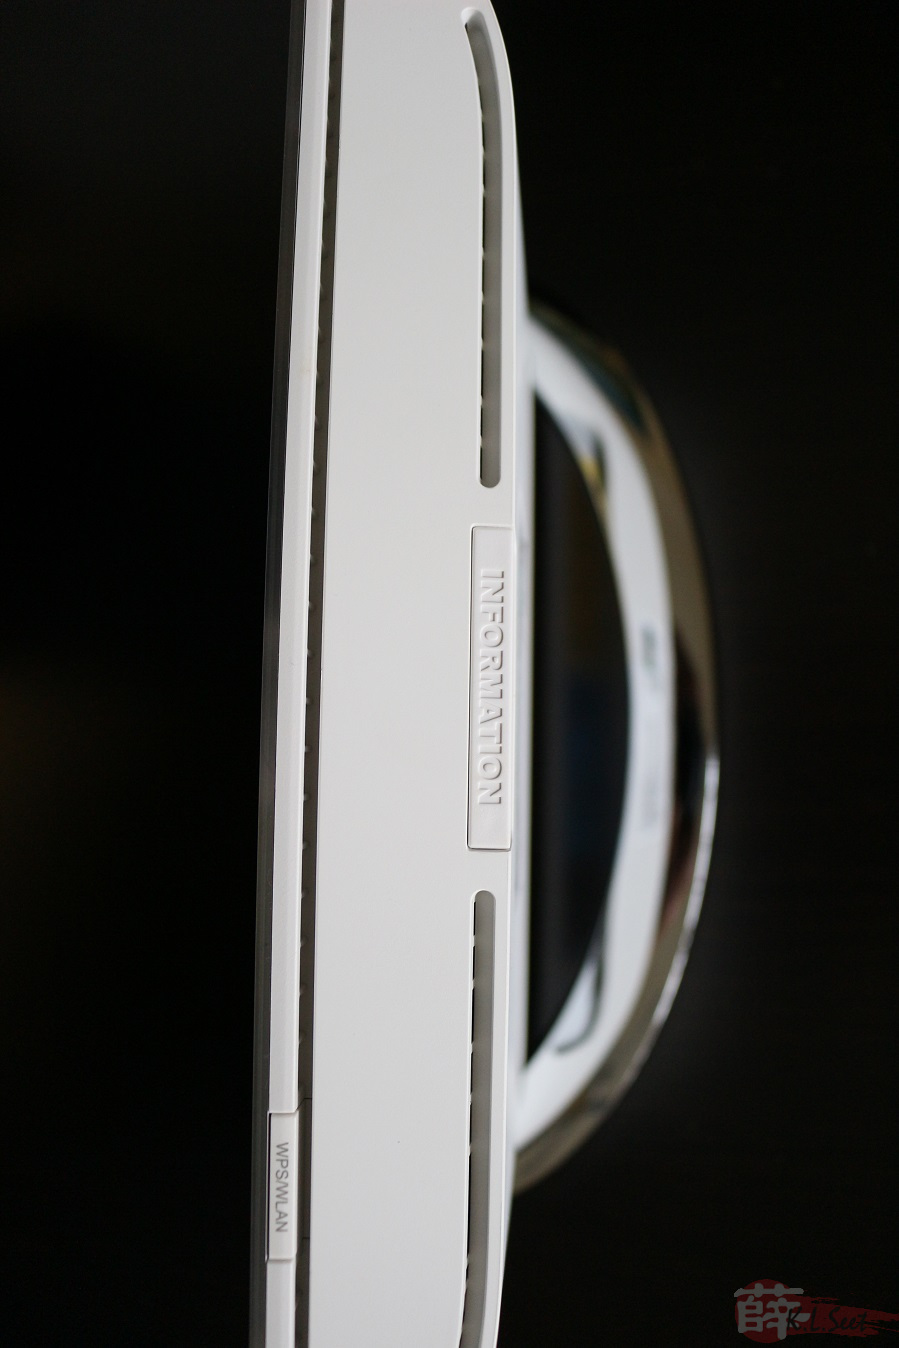
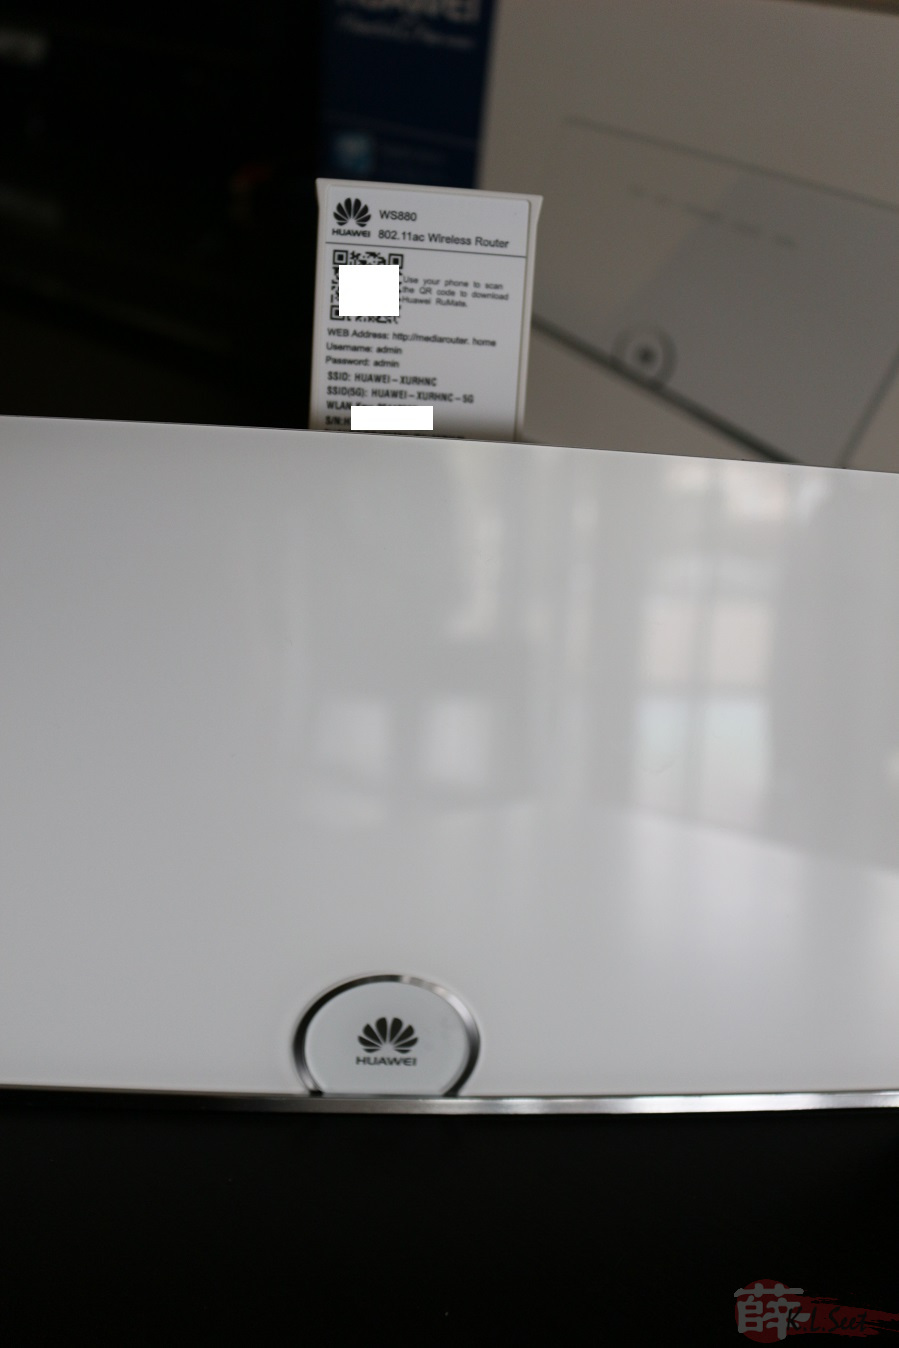
Product Photo

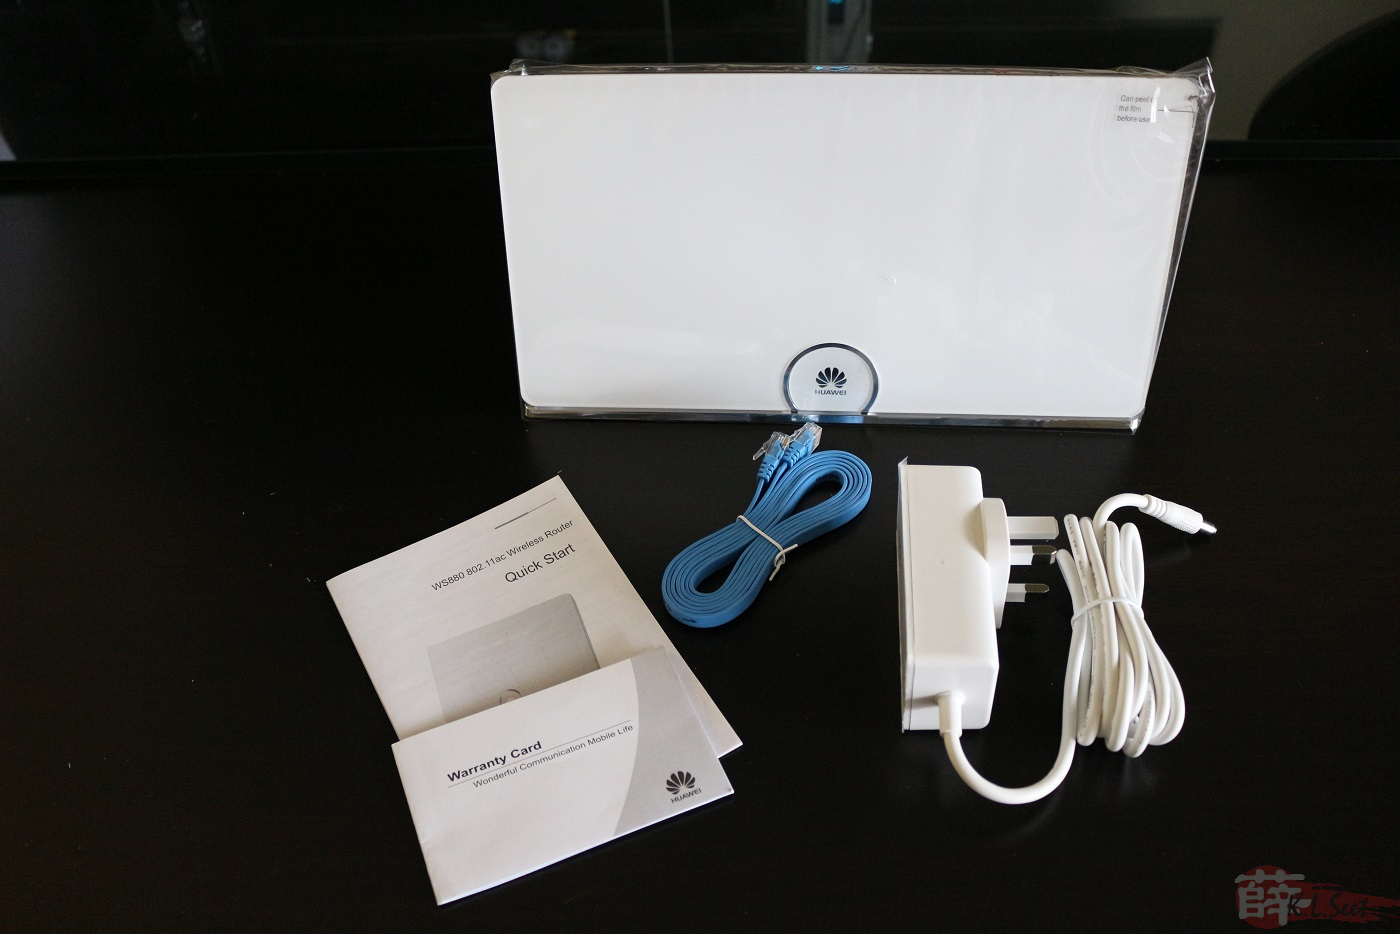


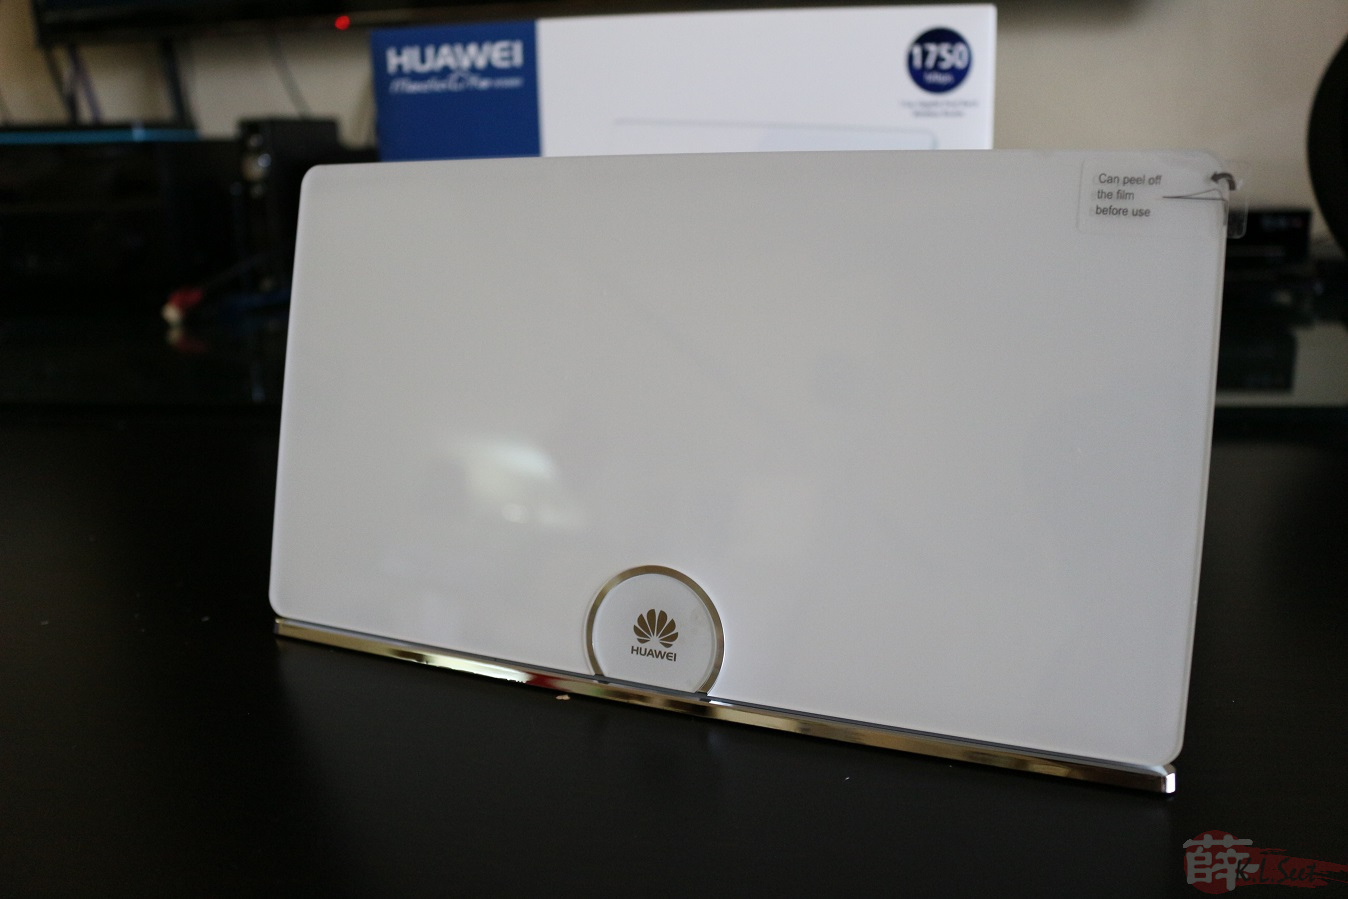
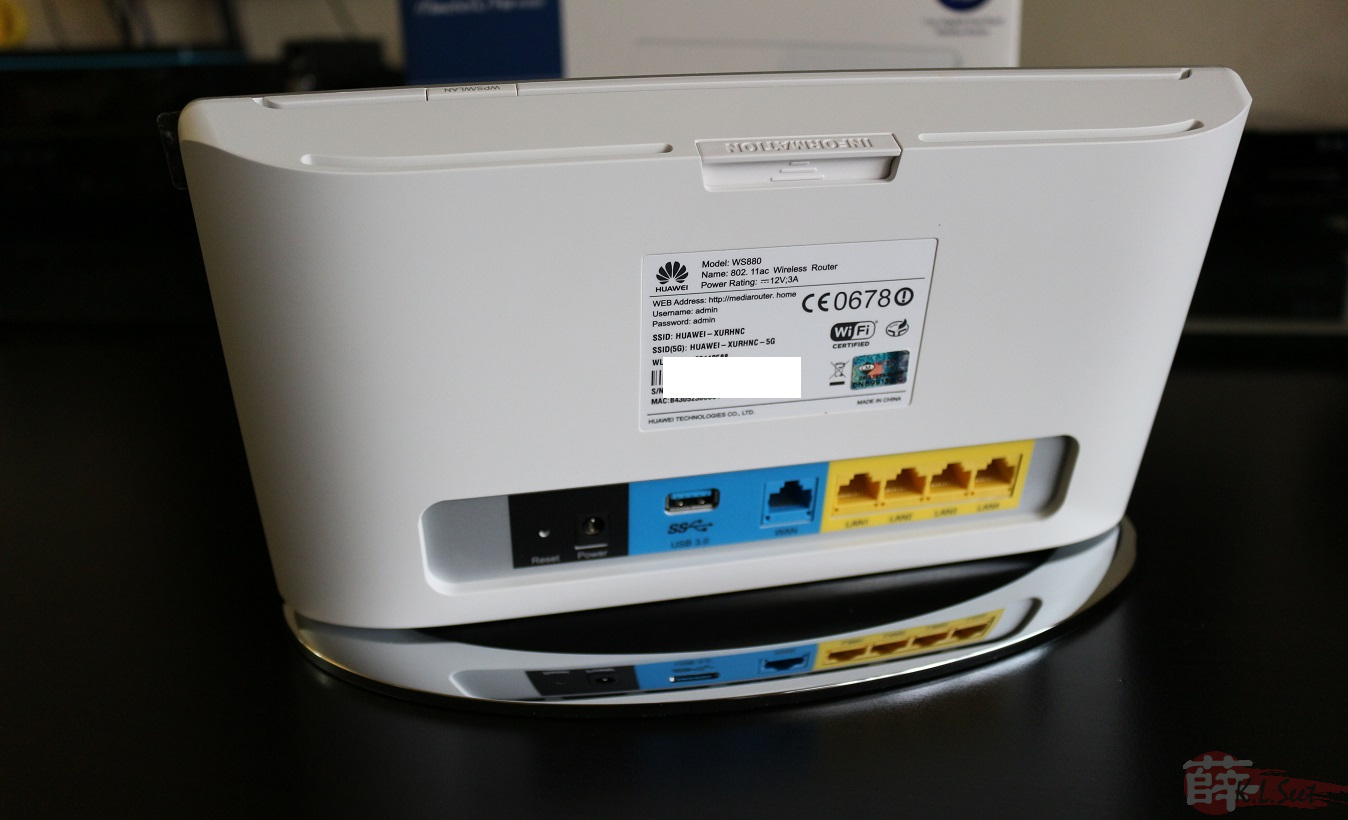
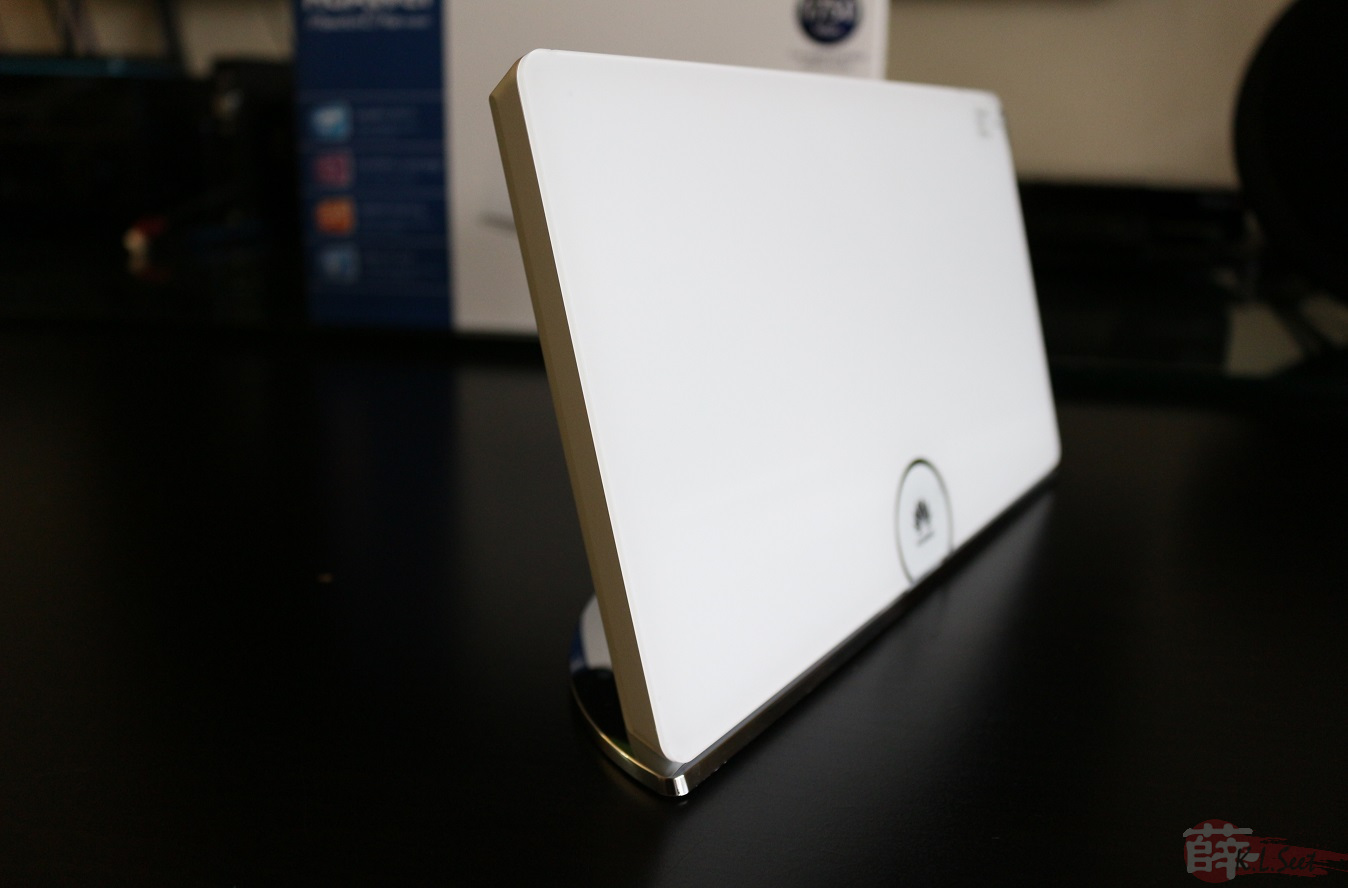
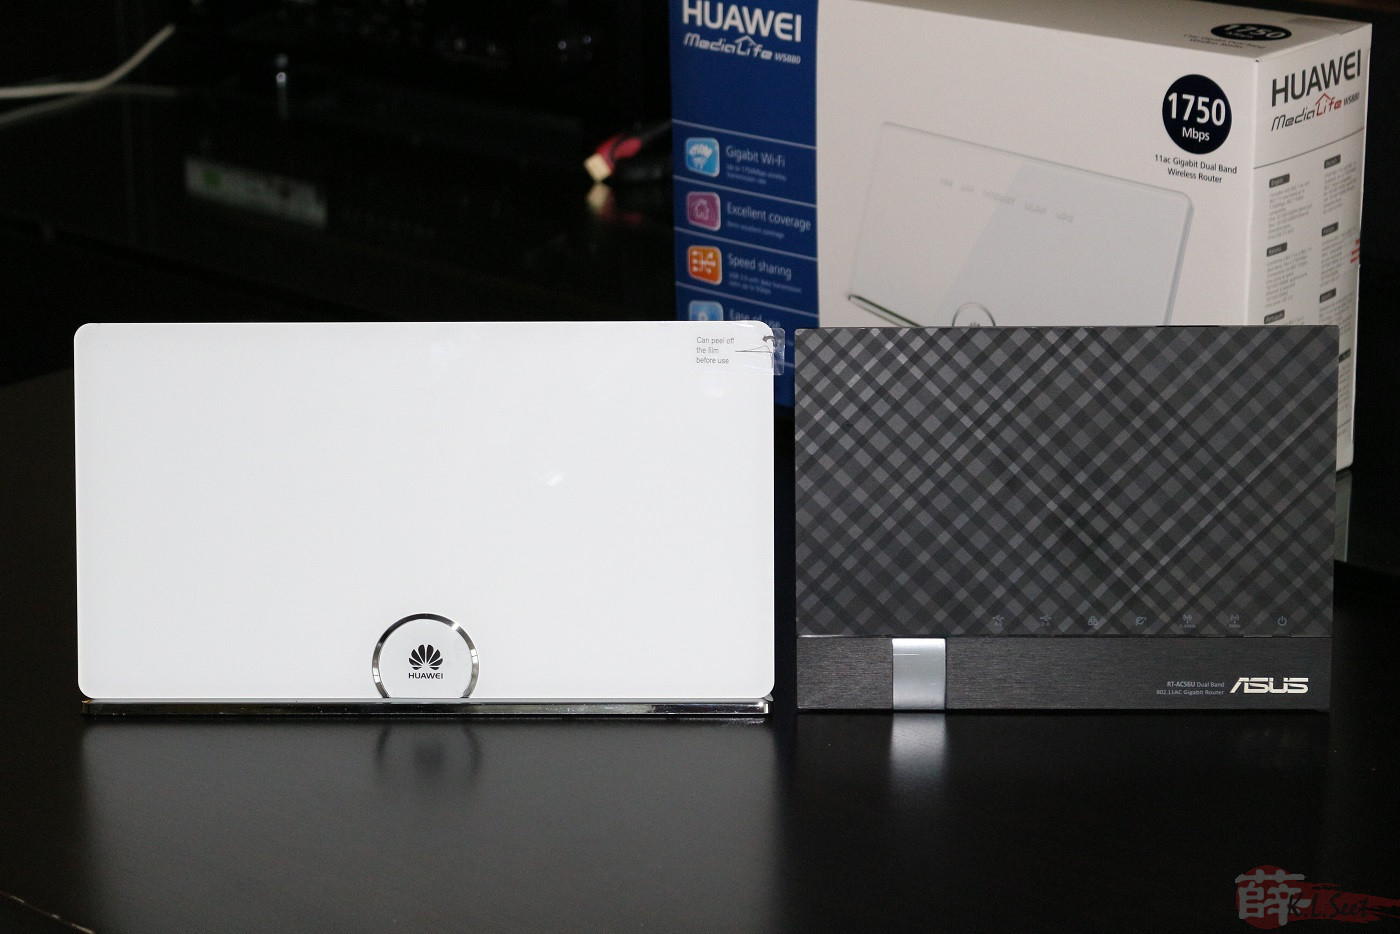
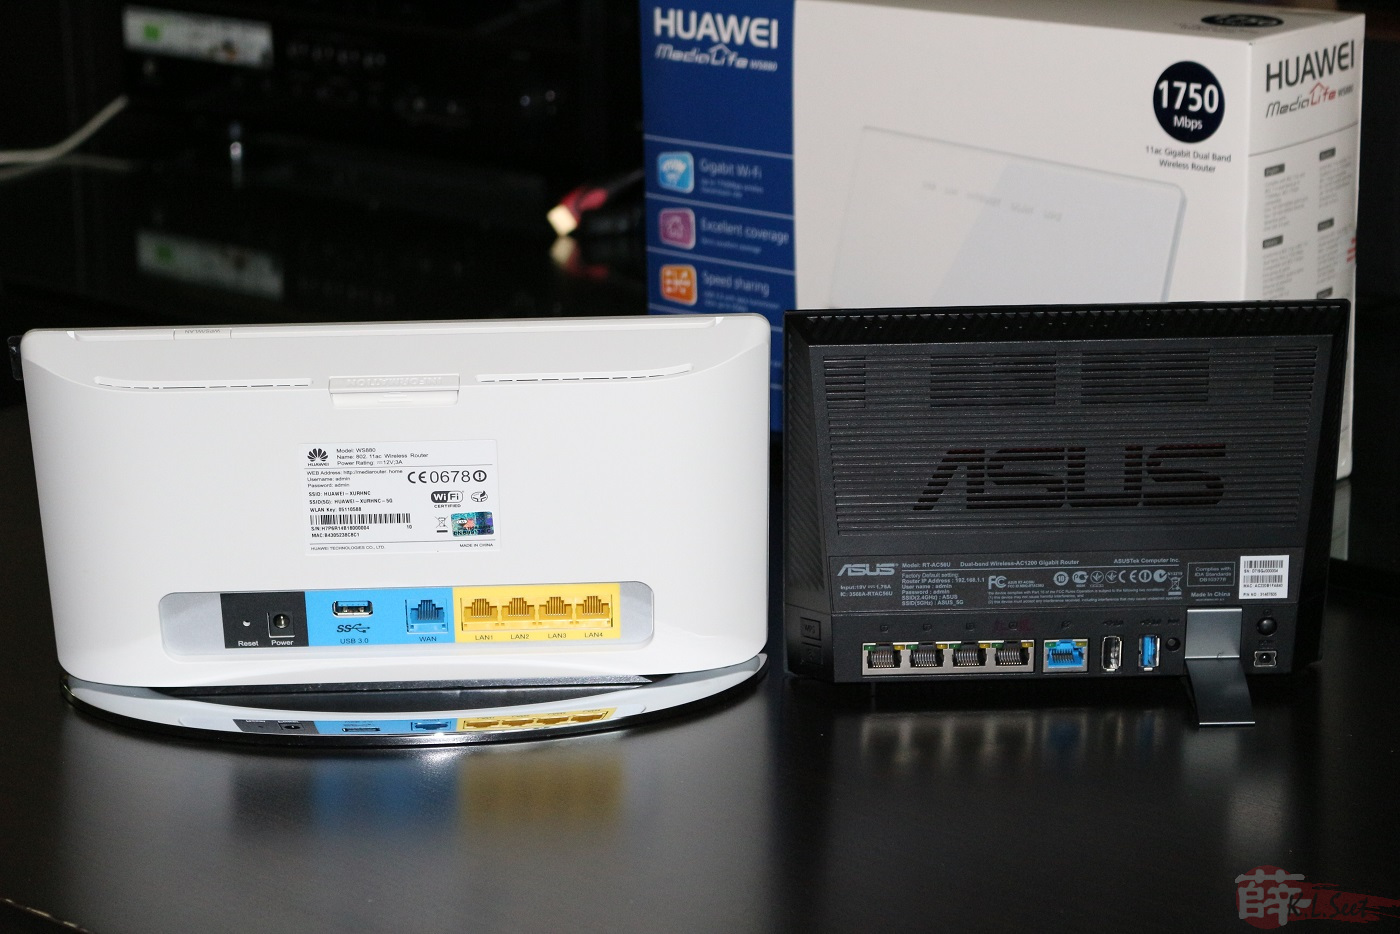
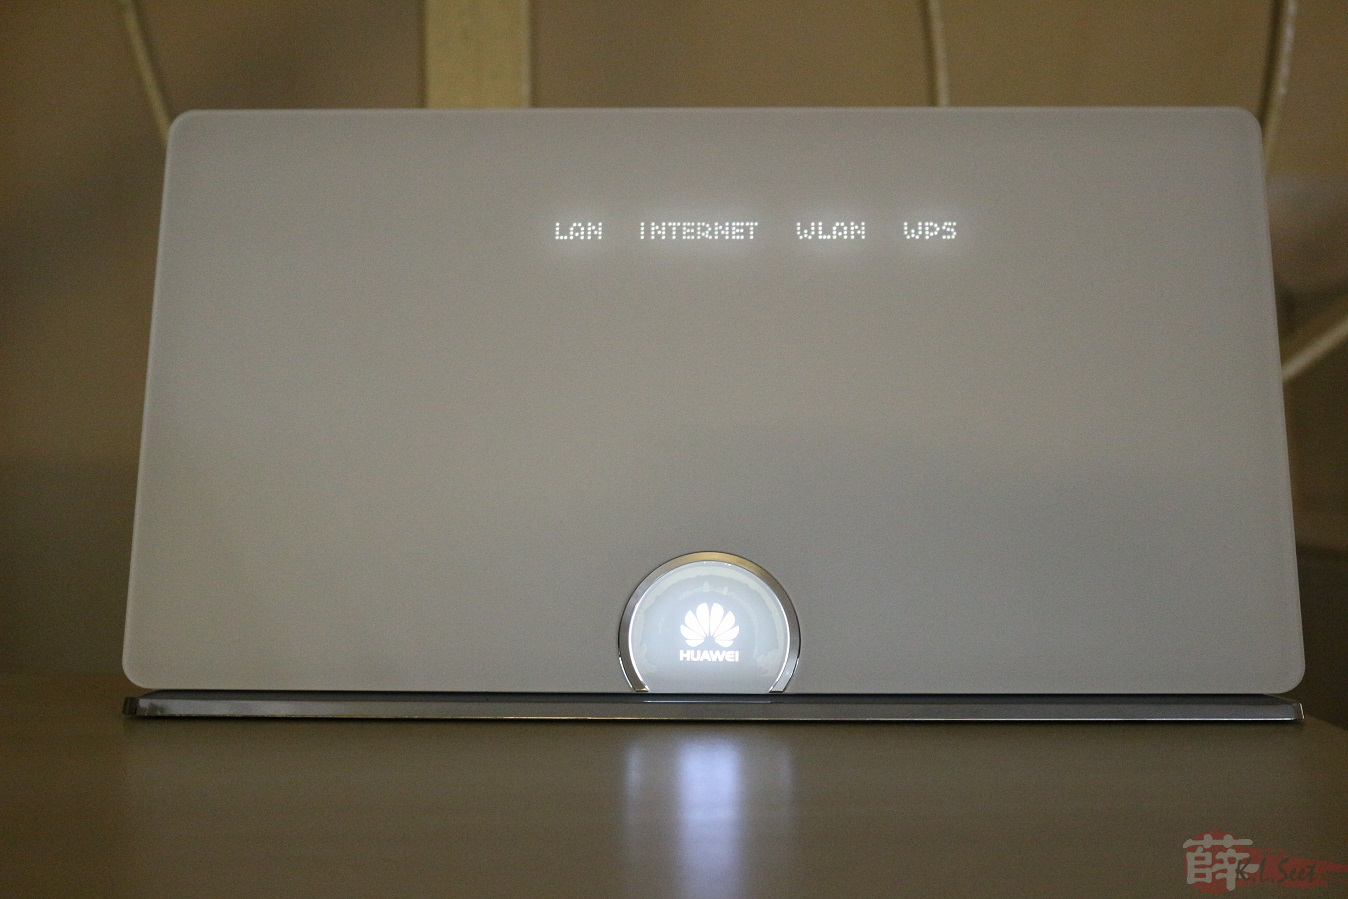
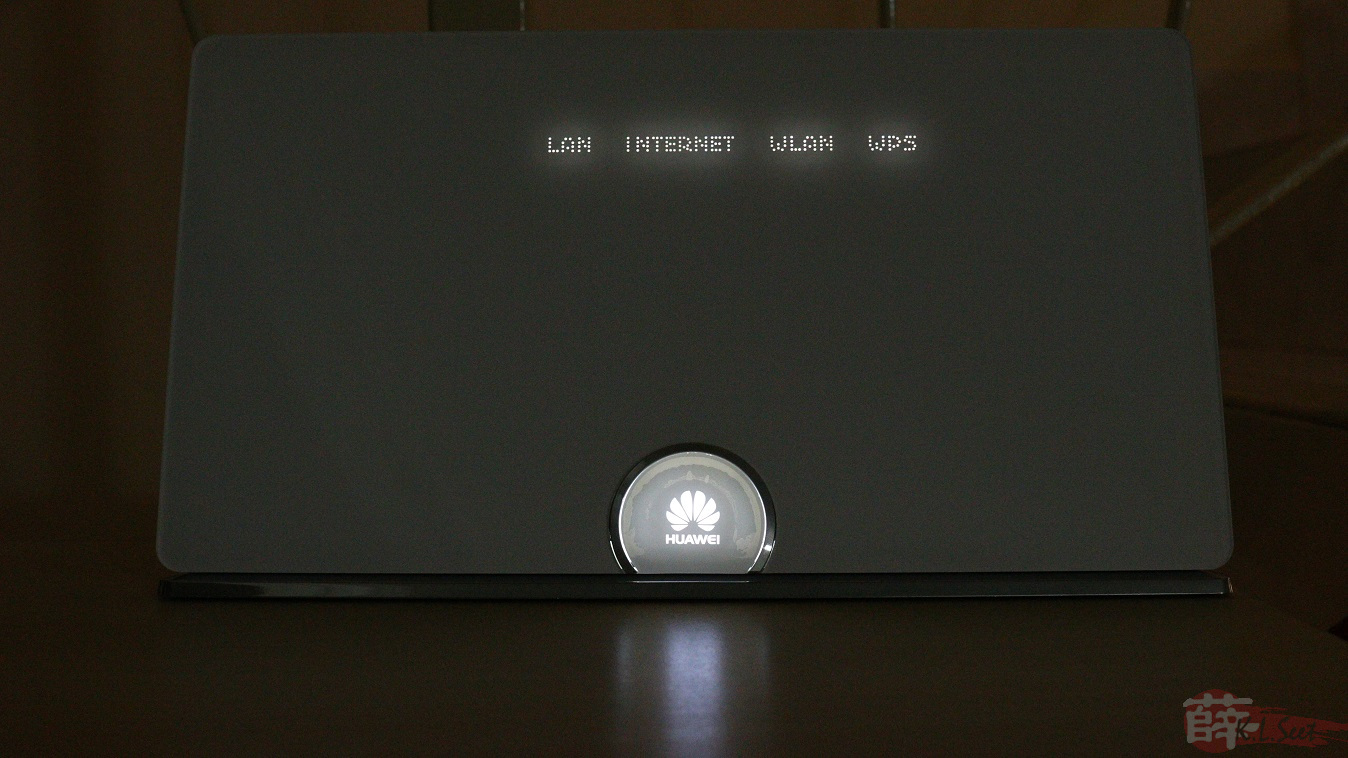
This router is very similar with the ASUS RT-AC56U which uses the same Broadcom CPU, except the WS880's radio is MIMO 3x3, overall design outlook & power adapter bulkier than the RT-AC56U .
Information & reference :
- Product information (Huawei Malaysia)
- Product information (Huawei Global)
- Review by GadgetHelp
- Review by IXBT (Russian)
- .
Stock Firmware
Interesting to see Huawei also make custom firmware for UniFi retail router over here 
Stock firmware look & feel :
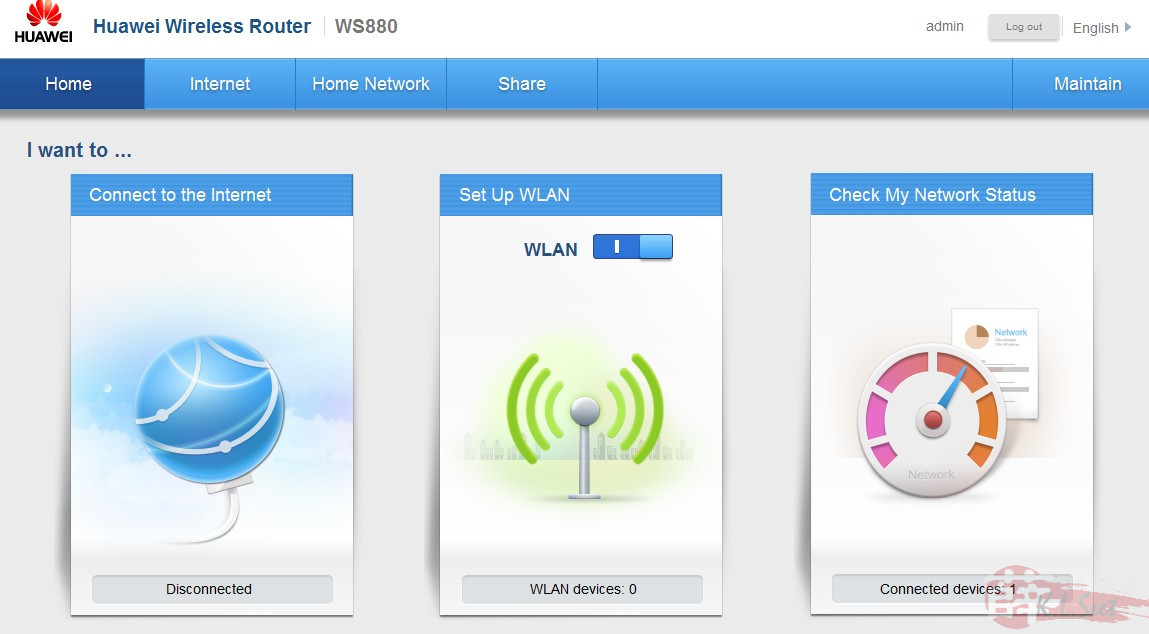
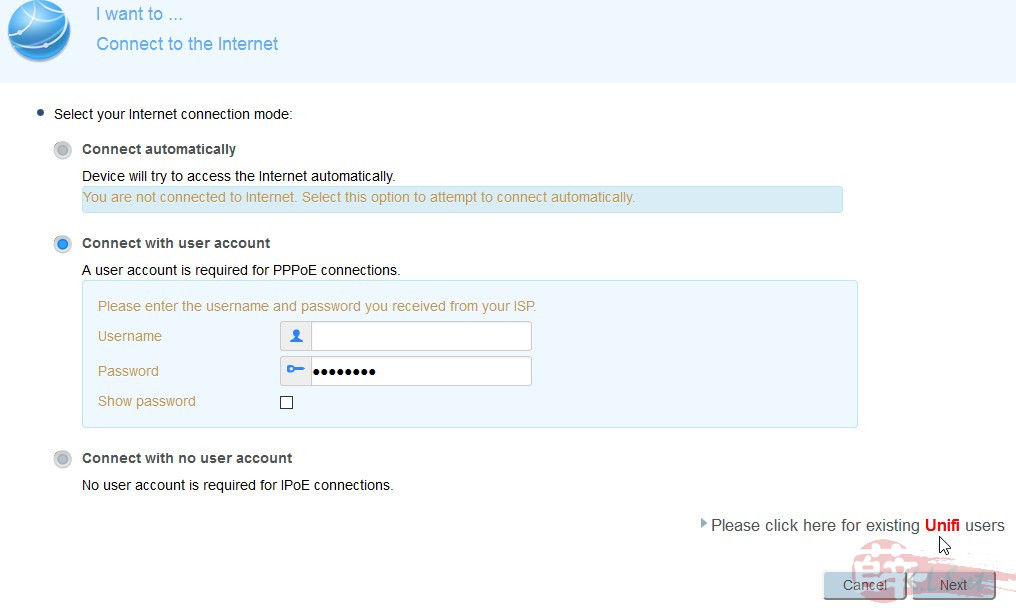
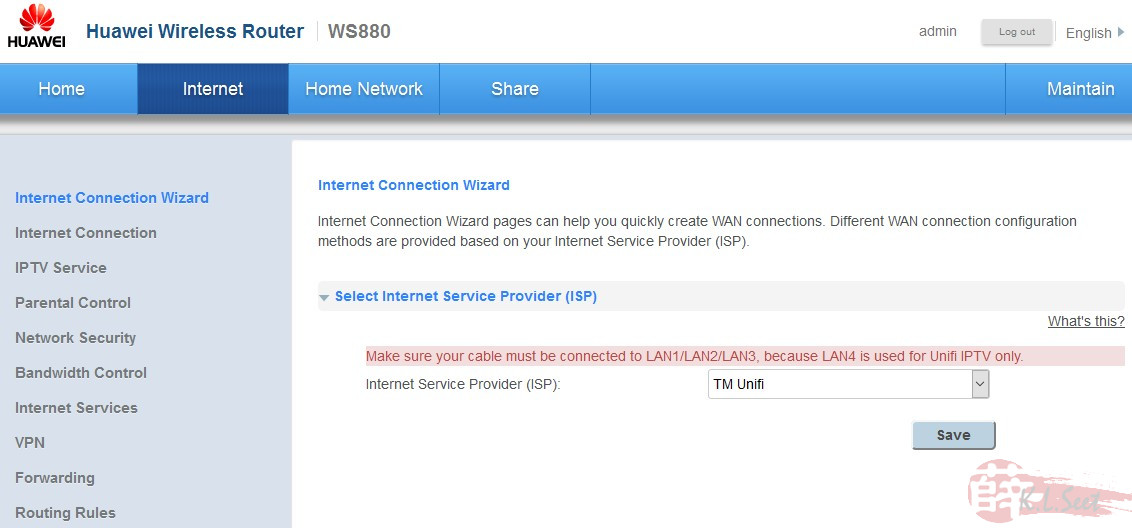
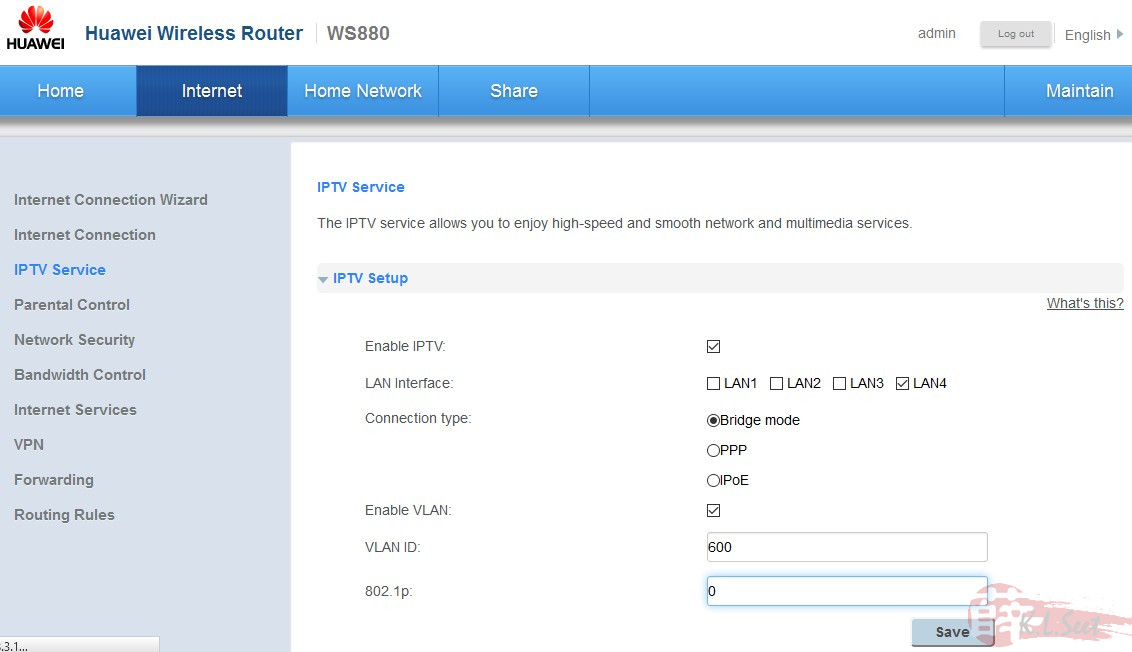

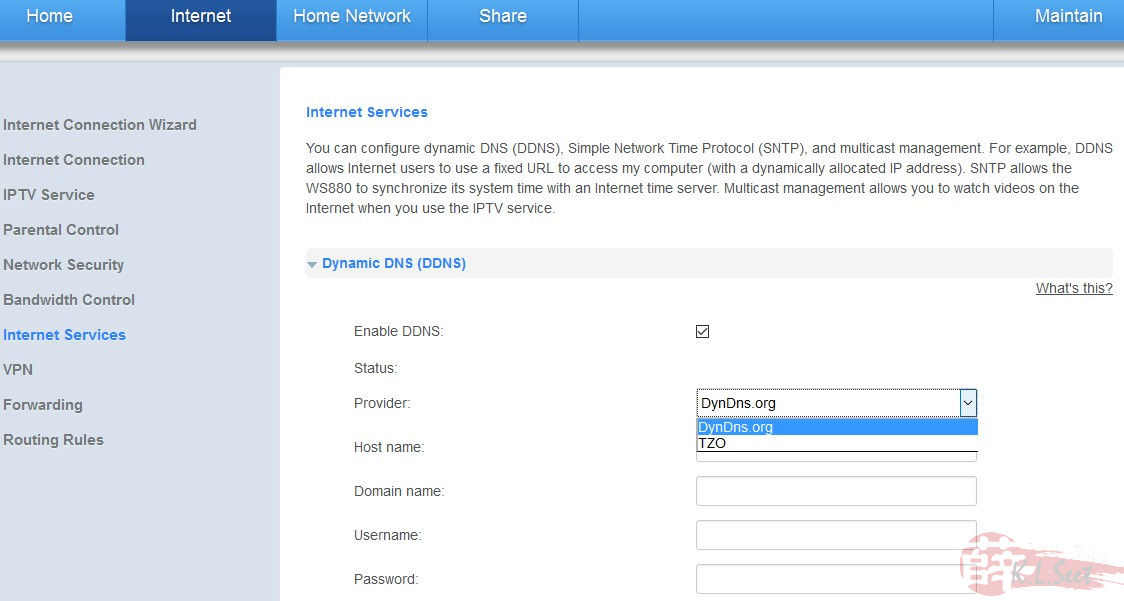
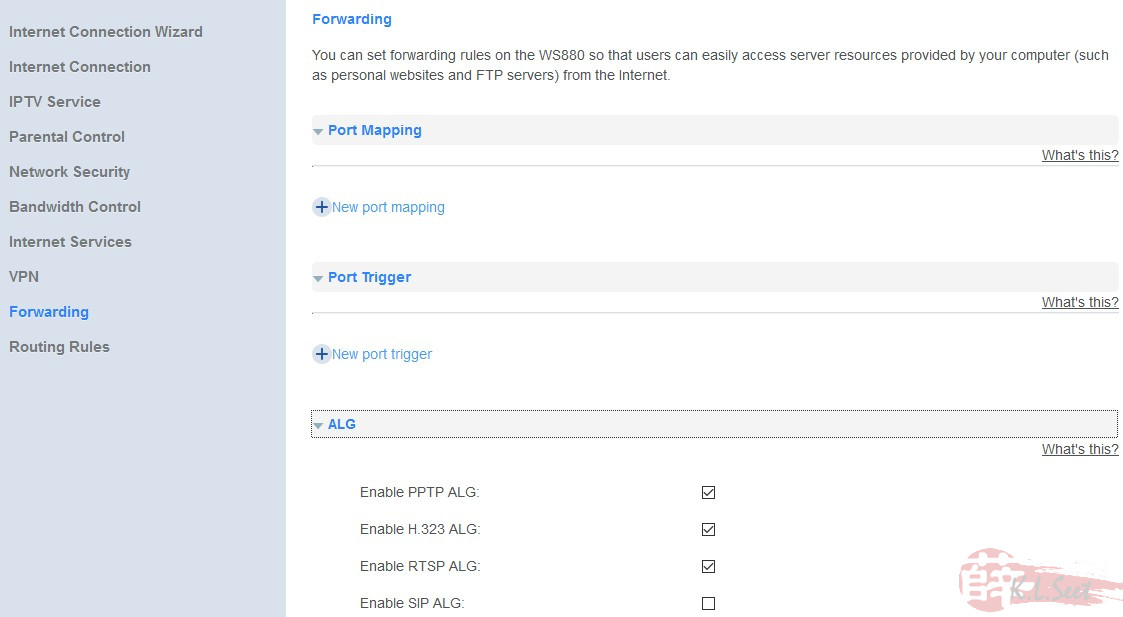
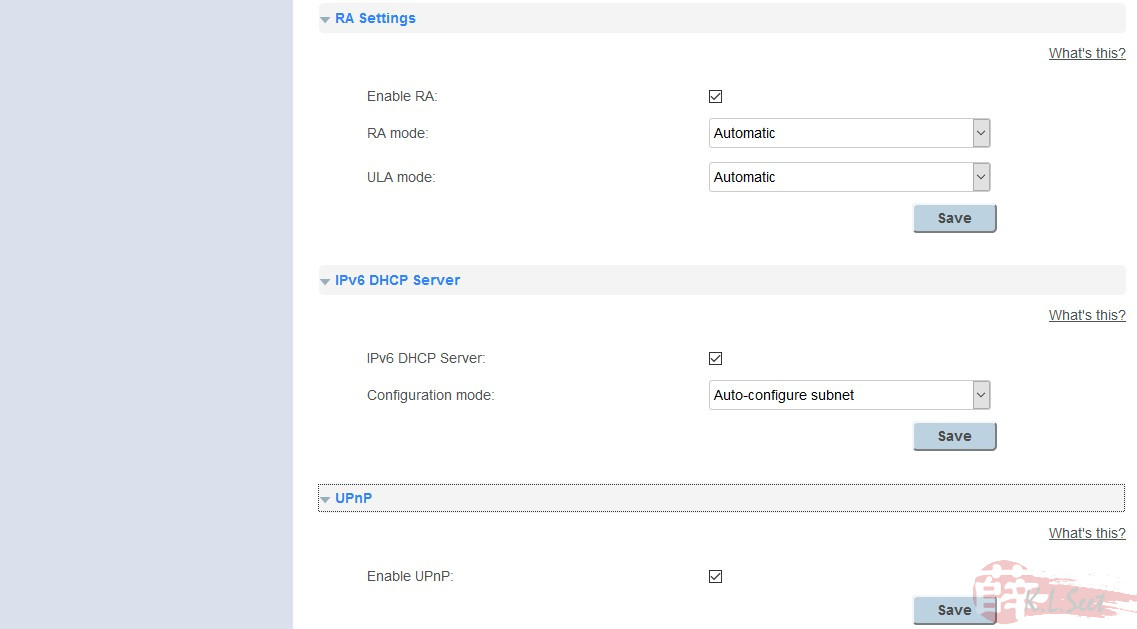
I'm not really interested in the stock FW and didn't try the stock firmware, my main intention is to flash to 3rd party firmware, see below ...
Unlock and flash to 3rd Party Firmware
This is probably the main reason to buy this router, especially at this dirt cheap price. Googling found this router can be unlocked and flash to XWrt-Vortex (based on ASUSWrt-Merlin build), after which can flash directly to Tomato-Shibby, nice !! !!
!!
Basically I just followed the instruction from 荷塘映月 (in Chinese), thanks & credit to the author !
Overall flashing process is pretty straightforward, this is how I flashed the WS880:
- Download both CFE Editor and the default Unlock bin file
- Download XWrt-Vortex's WS880 build
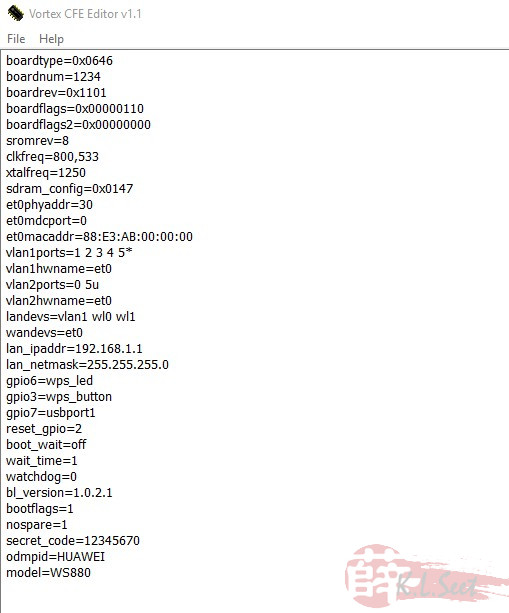
- Run the CFE Editor :
- open the downloaded default .bin file
- change the MAC address & SecretCode (WLAN key) as indicated at the back of the actual WS880
- save to a new .bin file
- On the router, to enter Emergency boot page :
- unplug ALL cables
- keep pressing & holding the reset button ...
- insert power cable, continue to hold the reset button for at least 20sec ...
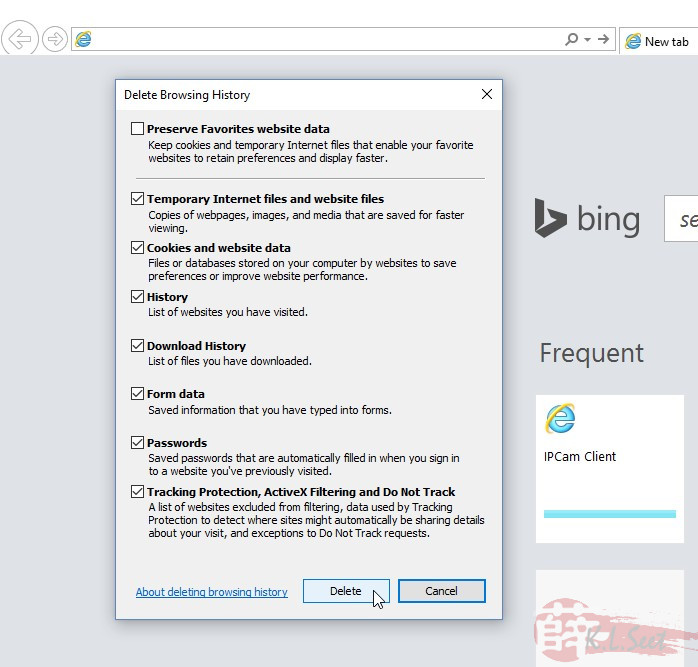
- On PC, to flash firmware through Emergency boot :
- use IE browser, clear all the history & cache first
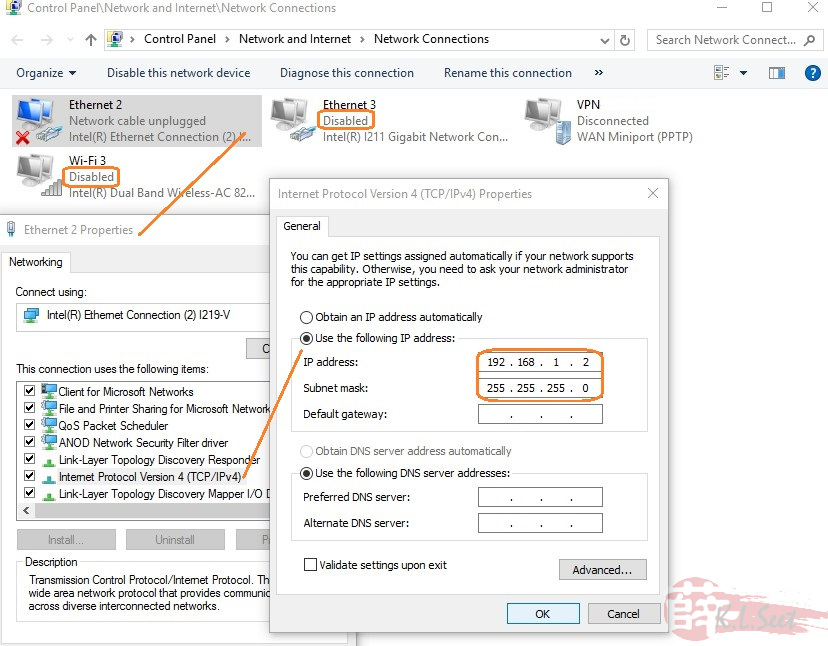
- set LAN static IP to say : 192.168.1.2
- disable all other network adapters including wireless
- temporary disable antivirus
- Important note during flashing process :
- NEVER use wireless to flash firmware
- DO NOT touch/move/unplug/disconnect or power-off anything
- NEVER use wireless to flash firmware
- After continue holding the router's reset+insert power for 20sec, release reset holding, connect PC to the router's LANport2
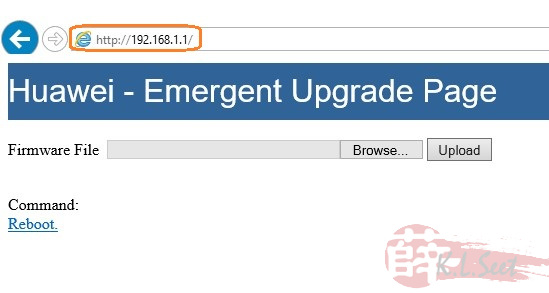
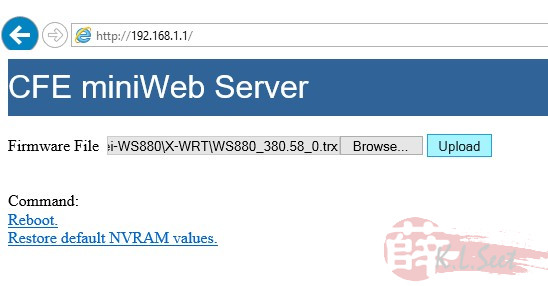
- On browser quickly type address : 192.168.1.1 (should see the Huawei default Emergency boot page)
- Browse and upload the newly changed unlock .bin file
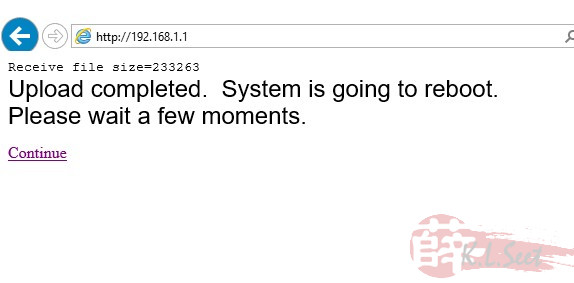
- it should take less than 1min to upload
- wait patiently router will auto-reboot
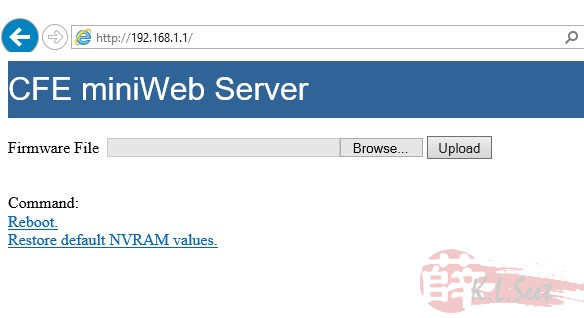
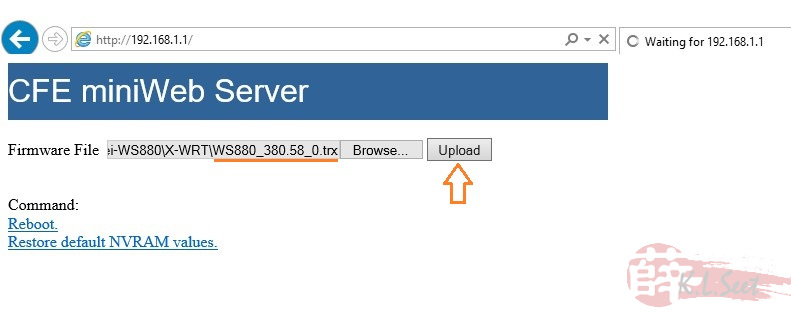
- After the router rebooted, should see the new CFE Emergency boot page
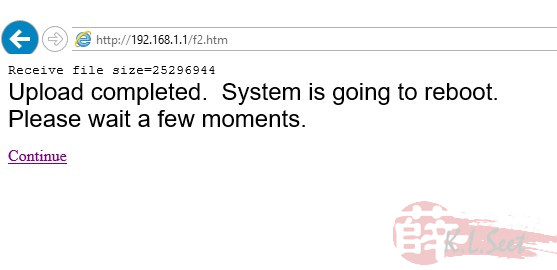
- Browse & upload XWrt-Vortex's WS880 build, wait patiently for at least 10mins, the router will reboot automatically ...
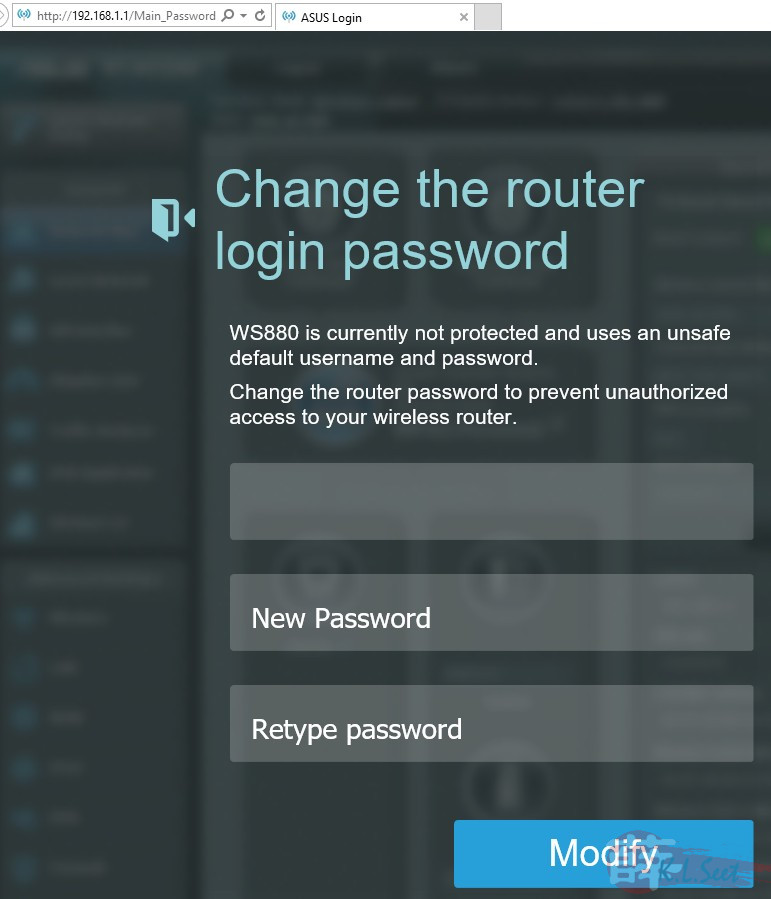
- After the router rebooted, should see the new XWrt-Vortex build --> AKA ASUSWrt AC56U/AC68U build

- DON'T setup anything yet, must do :
- Restore Factory default
- After restore, reformat JFFS partition & reboot the router again


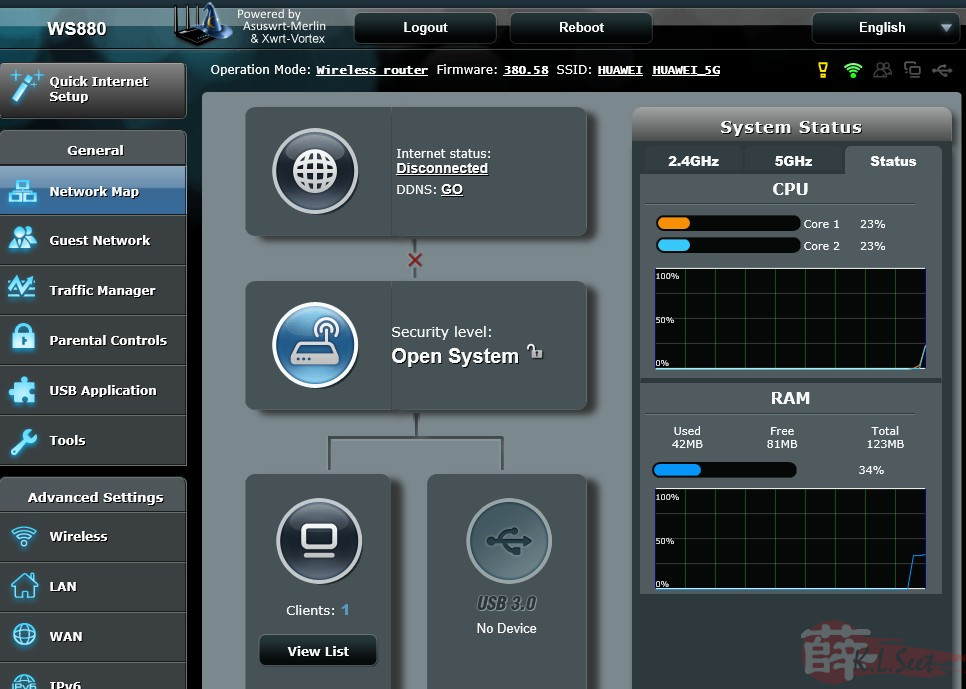

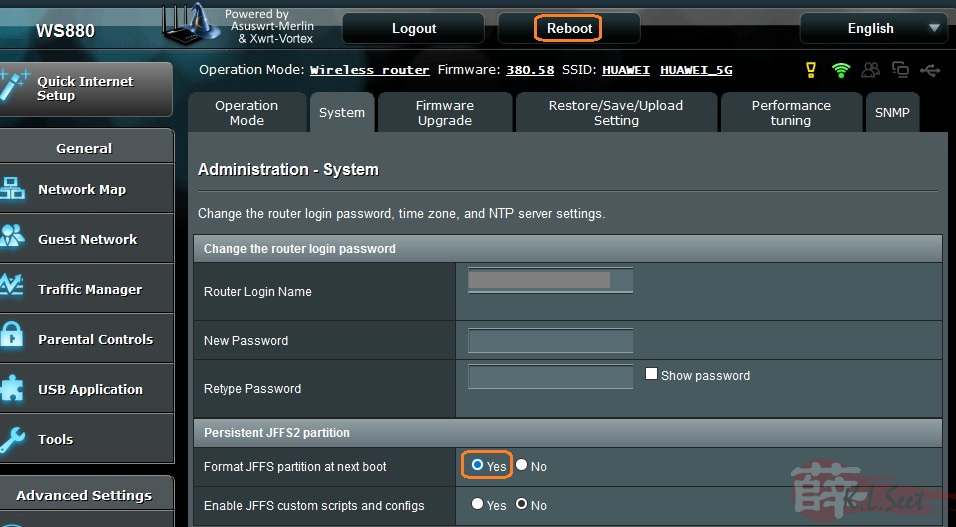
Done, the WS880 is now on ASUSWrt build, good to go and enjoy all the Wrt goodies  !!
!!
Next, flash WS800 to Tomato-Shibby
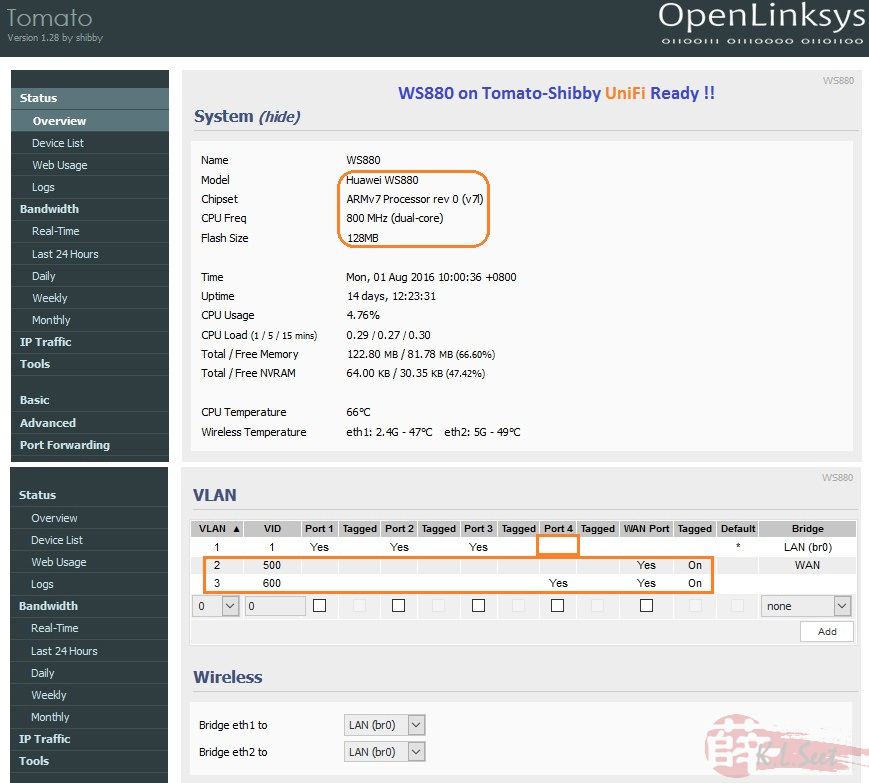
.