


LEDE - MiWiFi 3G - UniFi Ready
DualBand AC1200 : 2.4GHz~300Mbps + 5Hz~867Mbps, 4x high-gain external antenna MIMO 2x2:2
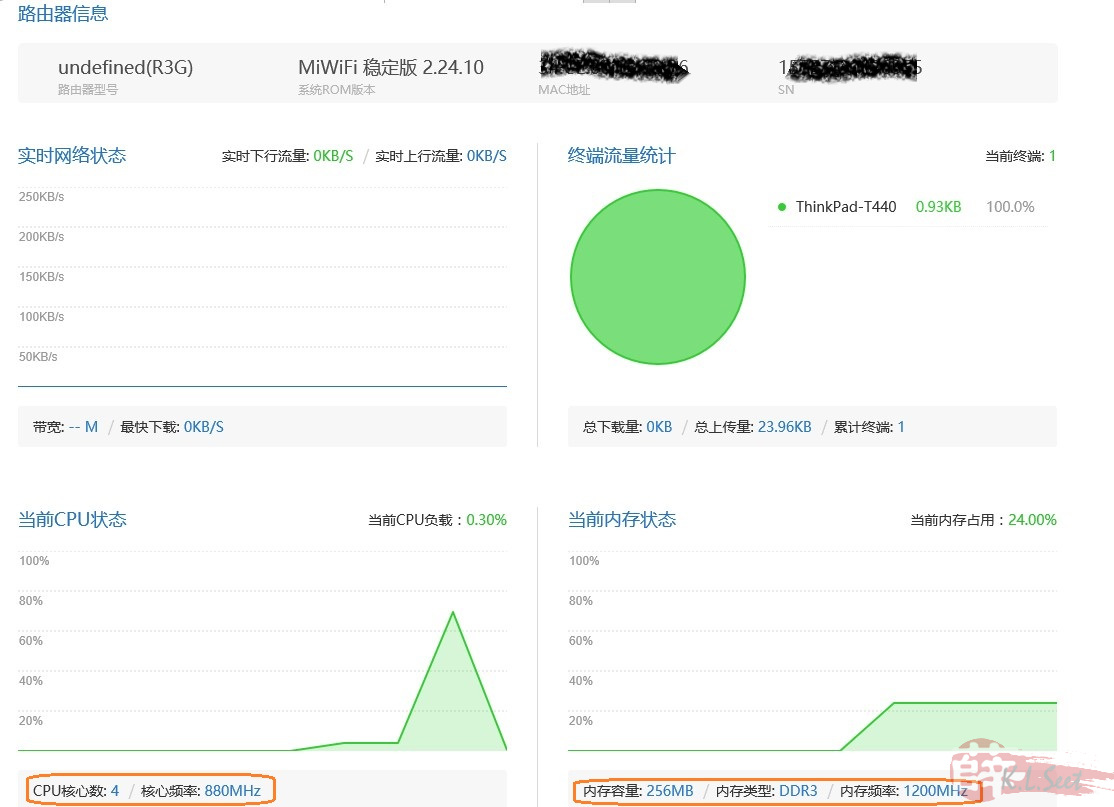
MediaTek MT7621AT DualCore @880Mhz, 128/256MB Flash/RAM size
1xWAN + 2xLAN gigabit ports, 1xUSB storage
XiaoMi MiWiFi 3G Router on LEDE SnapShot (both Vlan.500 + Vlan.600 working) 

Some XiaoMi router (named as MiWiFi) is based on OpenWRT customisation, bought 1 of this value-for-money MT base board during my recent trip in China, main objective is trying to flash LEDE/OpenWRT. Googling around found some helpful references, thanks and credits go to the following  :
:
- Official product info : http://www.mi.com/miwifi3g/
- WikiDevi : https://wikidevi.com/wiki/Xiaomi_MiWiFi_3G
- How to flash - https://forum.lede-project.org/t/xiaomi-wifi-router-3g/5377/57
Important note : I'm on one-way-ticket and ready to brick my toys without any intention to return to stock firmware. If you wish to return to stock firmware later, please go Googling research on how to backup/restore the orginal firmware/key first before start the journey.
Pre-requisite & Preparation
- A network LAN line with internet access
- A PC/laptop, get ready PuTTY & WinSCP
- A XiaoMi account (go to https://account.xiaomi.com register with your email account, it's free)
- A USB thumbdrive (FAT32) - preferably 4/8GB common brand like SanDisk/Transcend/Kingston
- Download the following to PC/laptop:
- MiWiFi 3G Dev ROM : http://miwifi.com/miwifi_download.html
- Go to LEDE Snapshot for MT7621 branch, download this 2 files and copy to USB thumbdrive : mir3g-squashfs-kernel1.bin & mir3g-squashfs-rootfs0.bin
- Also download : mir3g-squashfs-sysupgrade.tar <-- I always re-flash again after initial flash, also in future upgrade just flash this .tar file will do
- Note : do not use LEDE SnapShot before 30Sep2017 build
- A mobile phone, install MiWiFi app
- A bit of basic LEDE/OpenWRT command, must know how to change password & install LuCI webgui ... (E.g, passwd, opkg update, opkg install luci)
- and ready to void your device warranty, and possiblity brick your device

Flash to LEDE/OpenWRT - short version
Basically :
- Download stock Developer ROM from official website
- Initial setup stock router, then flash the Dev ROM
- On mobile phone login to XiaoMi account, then connect to the device's wifi, continue to complete setup link the device to XiaoMi account
- On PC, login to XiaoMi account, should see the device appear, download the SSH access bin file, remember to write down the root password
- Login to stock router, flash the SSH bin file
- PuTTY into the router, execute flash commands
- Done, LEDE !

Flash MiWiFi 3G to LEDE/OpenWRT - Detail Steps
Download the MiWiFi 3G Dev ROM from http://miwifi.com/miwifi_download.html :


Go to LEDE Snapshot for MT7621 branch, download this 2 files and copy to USB thumbdrive : mir3g-squashfs-kernel1.bin & mir3g-squashfs-rootfs0.bin
Also download : mir3g-squashfs-sysupgrade.tar <-- I always re-flash again after initial flash, also in future upgrade just flash this file will do
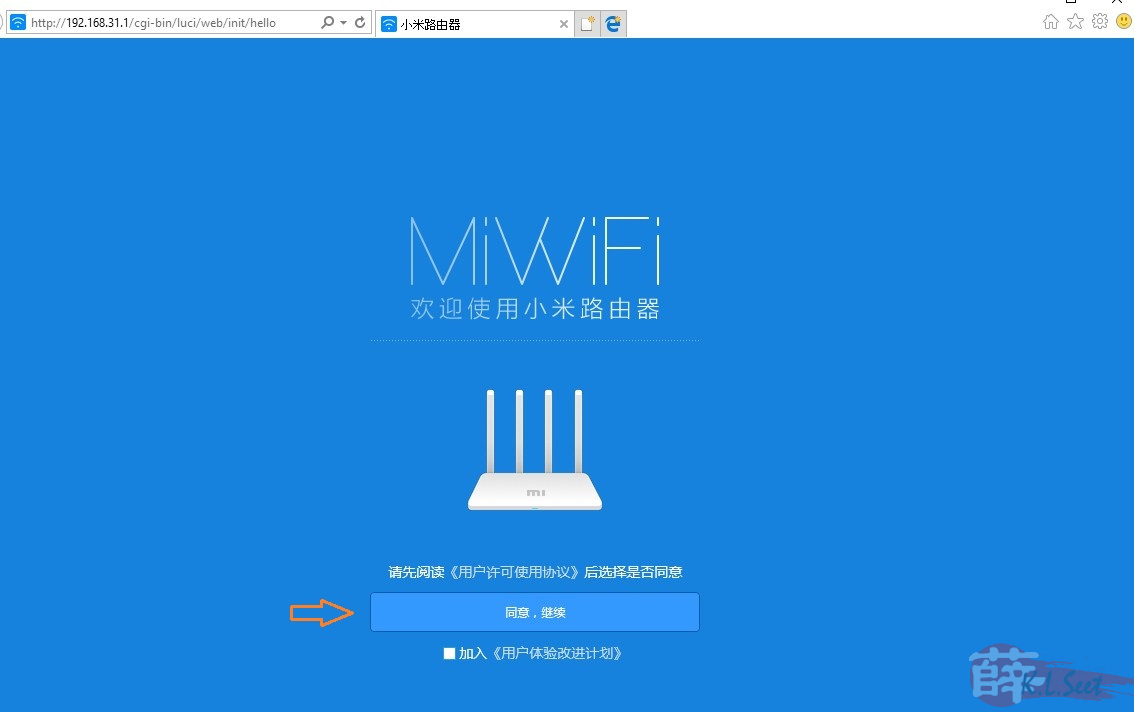
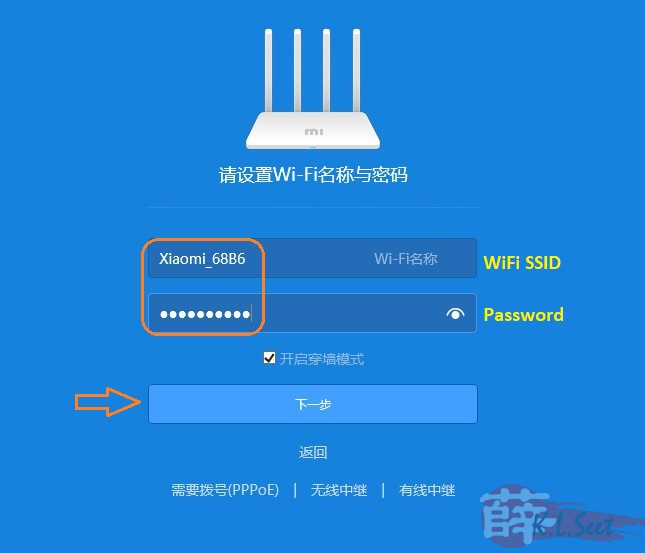
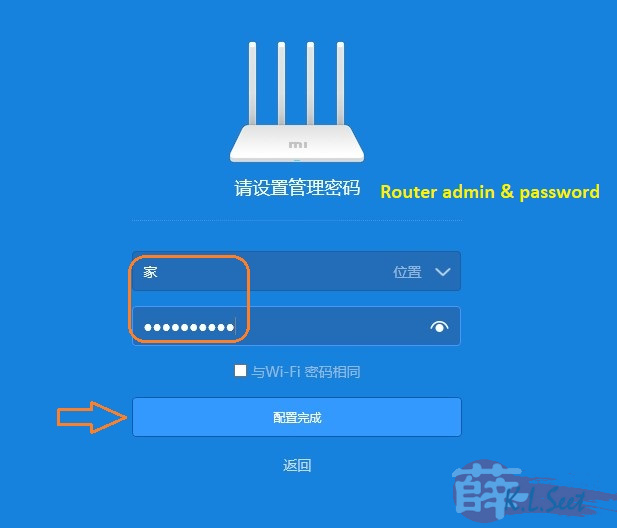
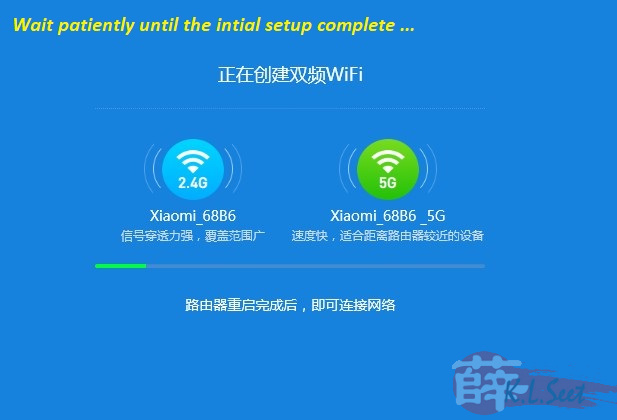
Initial setup stock router
Pretty straight forward, connect PC/laptop to the device's LANport, default IP is 192.168.31.1, refer to the following printscreen will do :
          |
Flash Dev ROM
Flash the Dev ROM via stock webgui as follows:


Wait patiently until it's fully completed, it can take a while wait for at least 5~8mins.
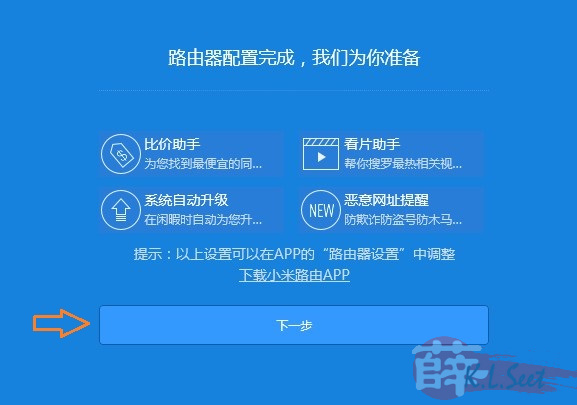
The device will restore to default after flashing to Dev ROM, connect LAN cable (with internet access) to the device's WAN port, then continue below on mobile app to re-setup the device and link it to your XiaoMi account.
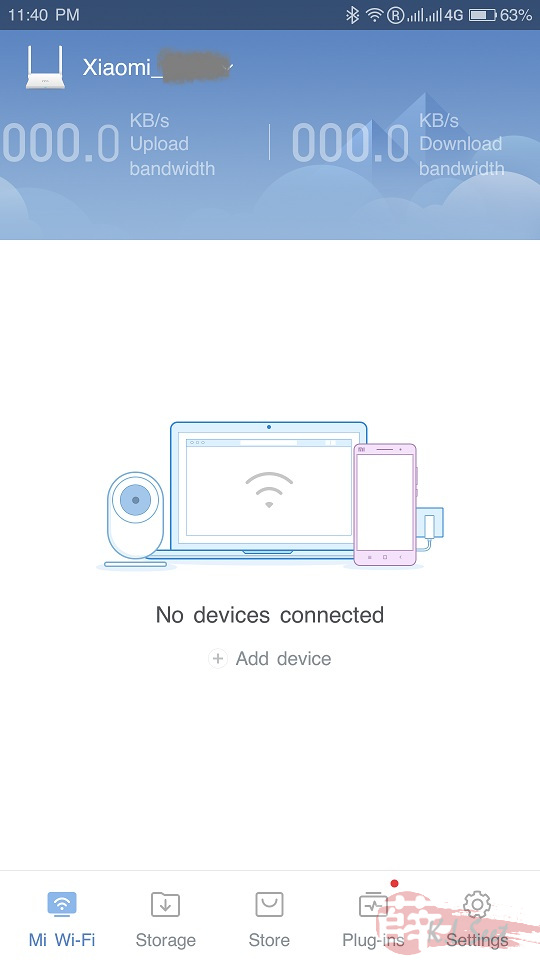
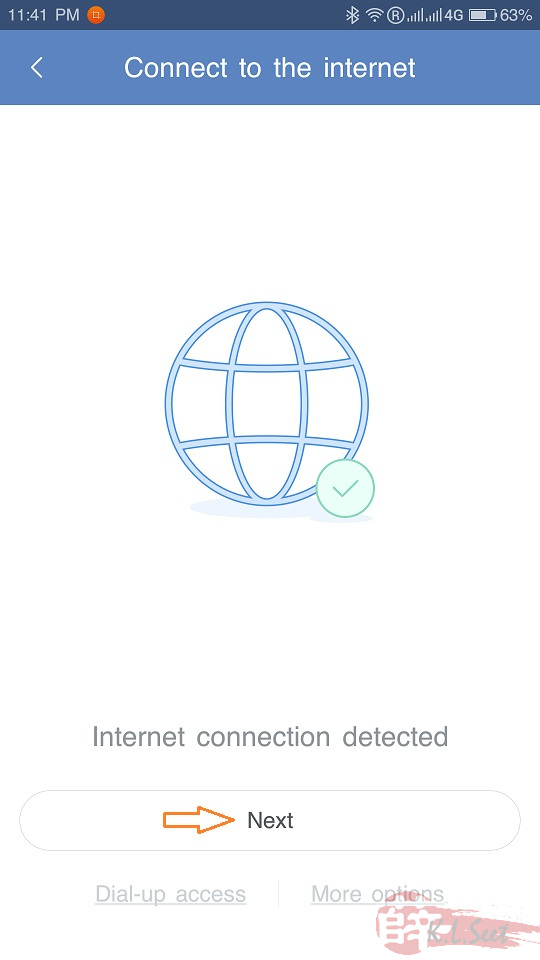
Setup MiWiFi router via Mobile App
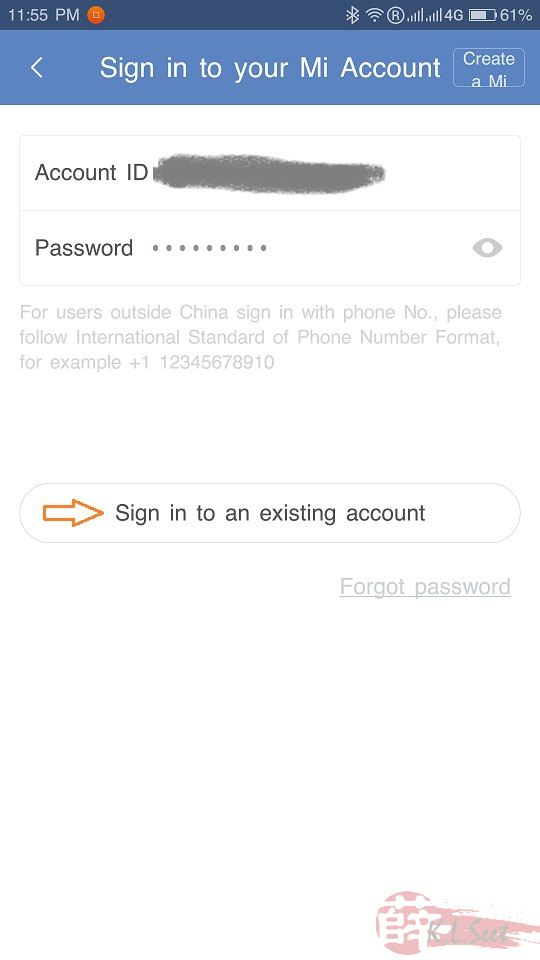
- Login to your XiaoMi account first via the MiWiFi mobile app (DO NOT connect to the device's wifi at this stage)
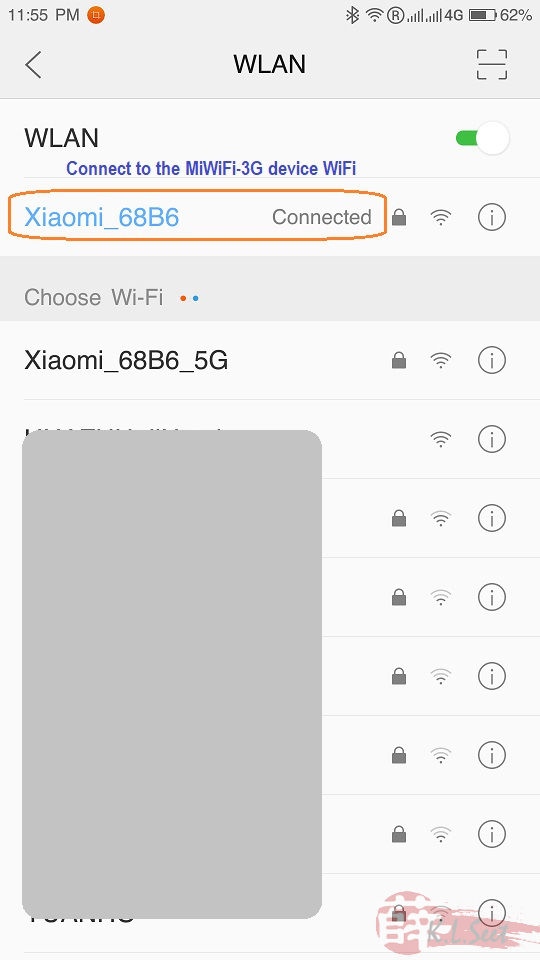
- After login successfully, then only connect to the device's wifi (default wifi no password)
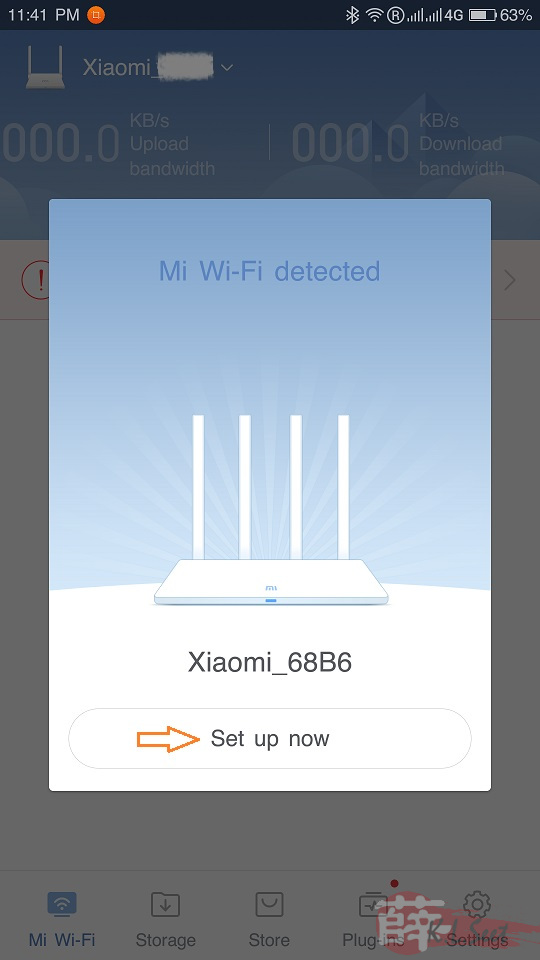
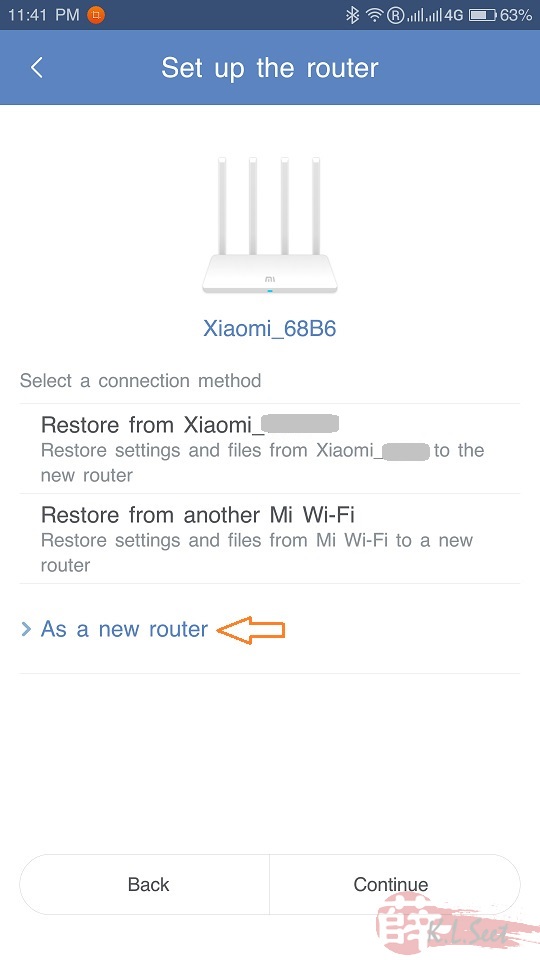
- the mobile app will prompt a new device discover, continue to complete setup and link the device to your XiaoMi account

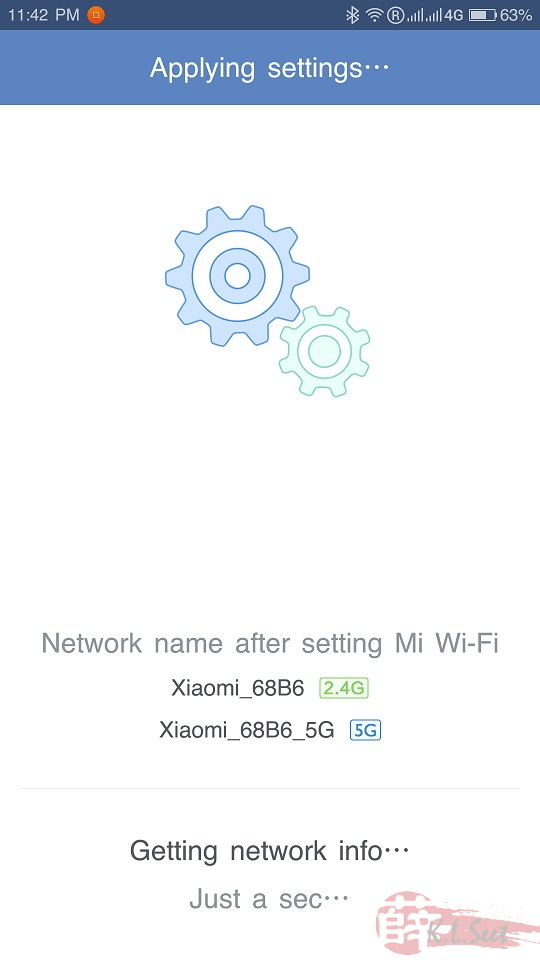
Once setup the device and linked to your XiaoMi account successfully, now back to PC/laptop below.
Download & flash SSH access bin file
Back to PC/laptop, connect to internet :
- Login to your XiaoMi account : https://account.xiaomi.com
- Noticed the MiWiFi 3G is now appeared
- Download the SSH bin file from : http://d.miwifi.com/rom/ssh
- Write down the root password shown on the page


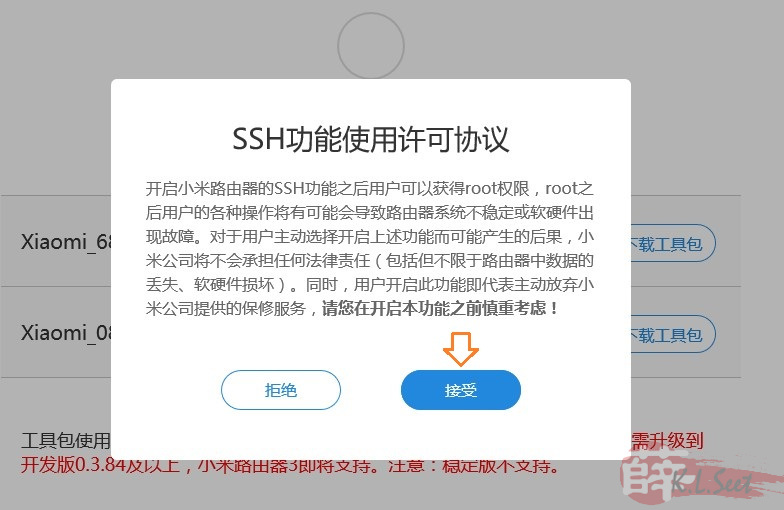
After getting the SSH bin file, just flash it via stock webgui like the above how to flash Dev ROM.
Once flashed to the SSH bin file, next is ready to flash LEDE.
Flash LEDE
Plug-in the USB (with the 2 LEDE files downloaded earlier) into the device's USB port, on PC/laptop, connect to the device's LANport, run PuTTY login to the device (192.168.31.1) as root with the password provided above :

(ARE U OK ?? ... yeah, not ok with the stock firmware ...)
continue to run the following command to flash LEDE :
cd /extdisks/sda1 (<-- my device show sda1 as the USB drive)
ls (<-- to check and confirm the 2 LEDE files is there)
mtd write lede-ramips-mt7621-mir3g-squashfs-kernel1.bin kernel1
mtd write lede-ramips-mt7621-mir3g-squashfs-rootfs0.bin rootfs0
nvram set flag_last_successs=1
nvram commit
reboot

Wait patiently until it's fully completed, it can take a while wait for at least 5~8mins. Go have some coffee breathe some fresh air first ...
The device should flash to LEDE successfully, PuTTY login to the device again, default IP is 192.168.1.1

Done, LEDE !!!!
Continue command to set new password and install LuCI webgui for easier setup later :
passwd
opkg update (<-- wait a while until it's fully loaded ....)
opkg install luci
reboot
After reboot, I'll login to LEDE and reflash (without saving settings) with the .tar file again, then only continue to setup ...
UniFi VLANs & Network Setup
First, setup switch vlans as follows, note Vlan.600 IPTV at LANport2 :

then WinSCP login to the device, go and edit the etc/config/network file, ensure UniFi setup like below, particularly the vlan & vid number :

I personally will install the following "must-have" packages :
- luci-ssl (secure access to router)
- SQM QoS (CAKE with Piece_of_cake or Layer_cake script to resolve Bufferbloat issue)
- AdBlock (with daily auto-update)
- DDNS + No-IP script


DSLReports tests result with the above SQM's Layer_cake on UniFi's VIP50 package = A+

AdBlock --> no more annoying ads/malwares/botnet


DualBand Wireless
Tested some devices like iPhone6/7plus, iPad mini 2, Android devices, so far seem to be ok, signal quite strong though :

The device can get quite hot, so I get a small phone stand and a fan to cool it down


Overall design footprint is quite small, not bad looking, generous hardware spec at this price, setback is only has 2 LANports ... Anyway, with less than RM200, definitely a "must-have" all-in-one LEDE toys for me 