


ASUS RT-N56U
Custom Firmware by Padavan - Optware Installation, Transmission
Reference, thanks & credits go to the following: 
Setup USB HDD for Optware
I format a USB 2.5" HDD with ext3 filesystem using MiniTool Home Free edition
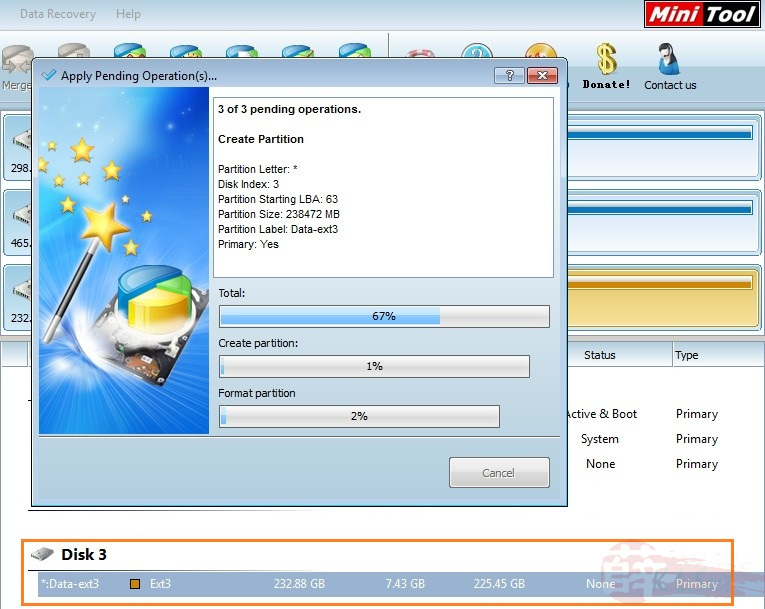
Note: This device has about 128MB RAM which I believed it should be good enough, therefore I didn't create LinuxSwap partition. Furthermore, Padavan did suggest preferably not to use Swap as it can cause system crash in the event the USB HDD was pull out accidentally.
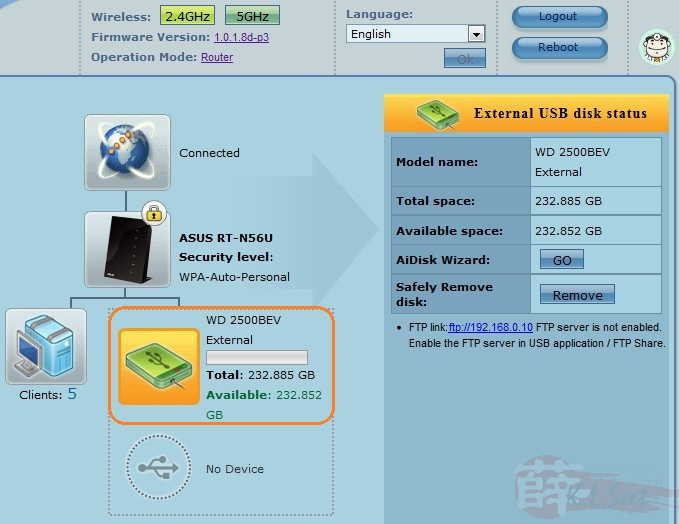
Insert onto the device, ensure it can detect and mount automatically
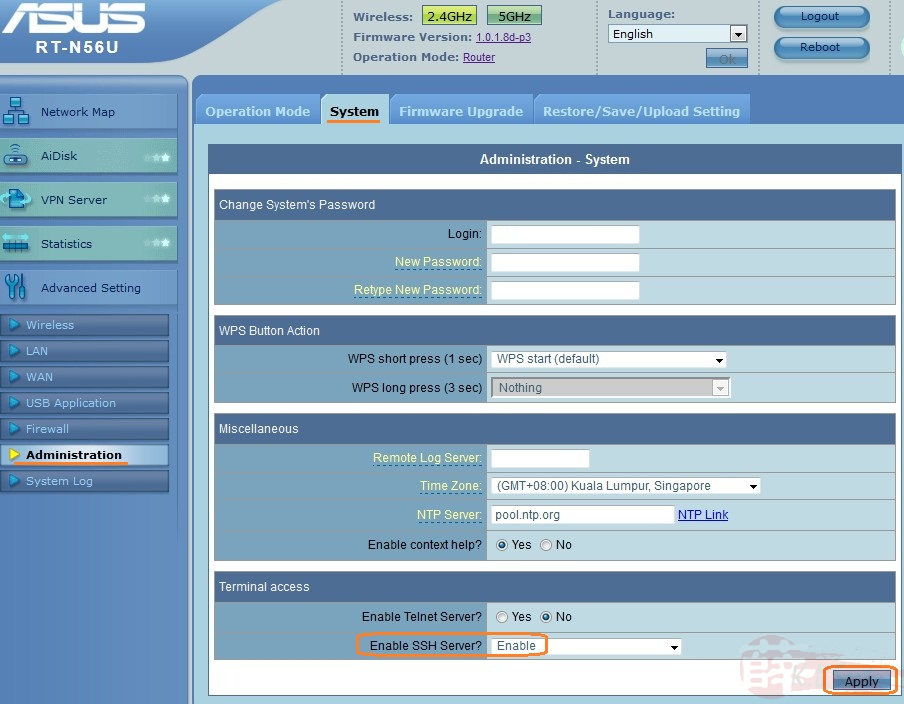
Go to the following and enable the SSH login
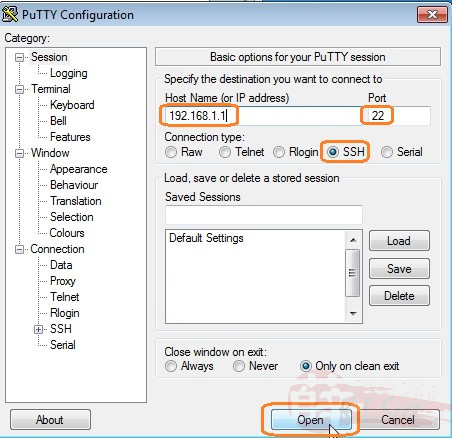
Launch PuTTY login to the device
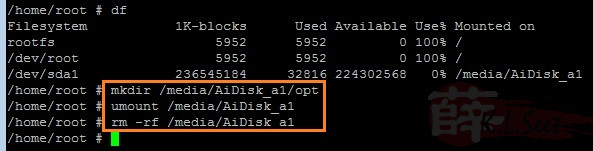
Type df (disk free) to check & confirm the USB HDD "/dev/sda1" in this case, is mounted properly

Enter the following command, 1 after another, to create opt folder on the USB HDD
Later unmount the HDD
Re-confirm on webgui that the device is at unmount state

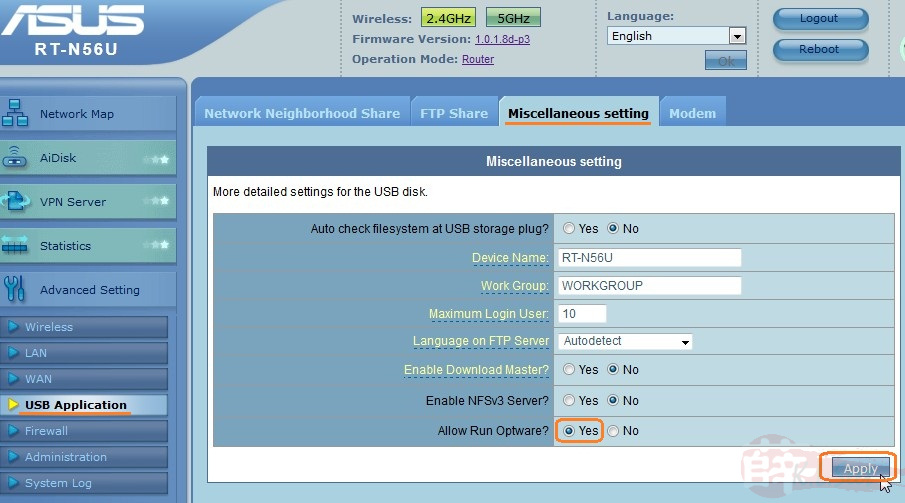
Now go to the following, enable the Optware on USB HDD
Click Apply when done
- Remove the USB HDD from the device now
- Wait for 1min
- Plug-in the USB HDD again
Re-confirm the device can detect & mount the device

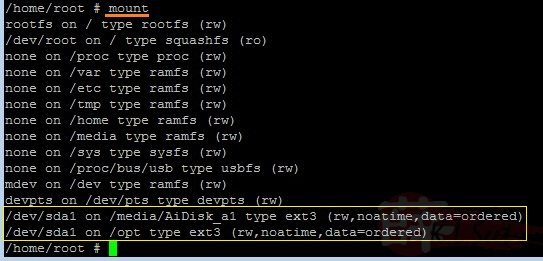
PuTTY SSH onto the device, type mount to check again
Type df to re-confirm the USB HDD is mounted on /opt
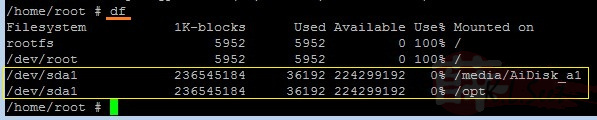
USB HDD setup with Optware capability is done now, you may now proceed to install your favourite packages !
Transmission
PuTTY to the device, run the following to refresh packages list
![]()
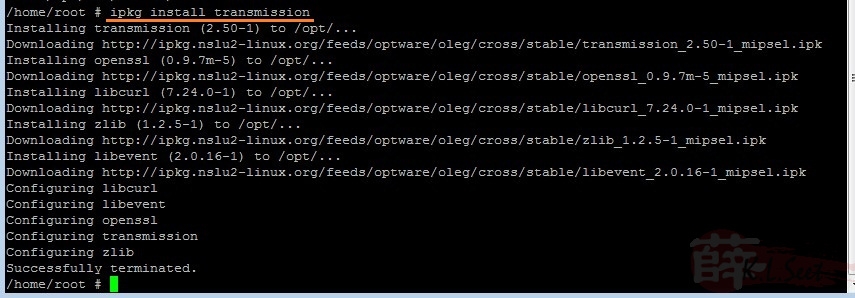
Type the following to install the Transmission package, wait patiently until it's fully completely successfully
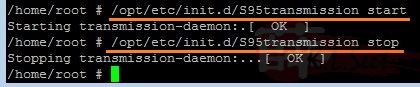
Enable autostart

Start the service, wait for 20sec, then stop the service by the following command
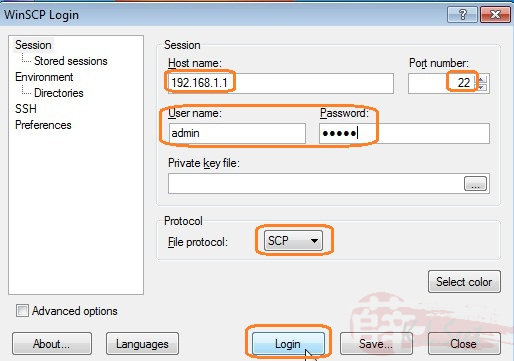
WinSCP to the device
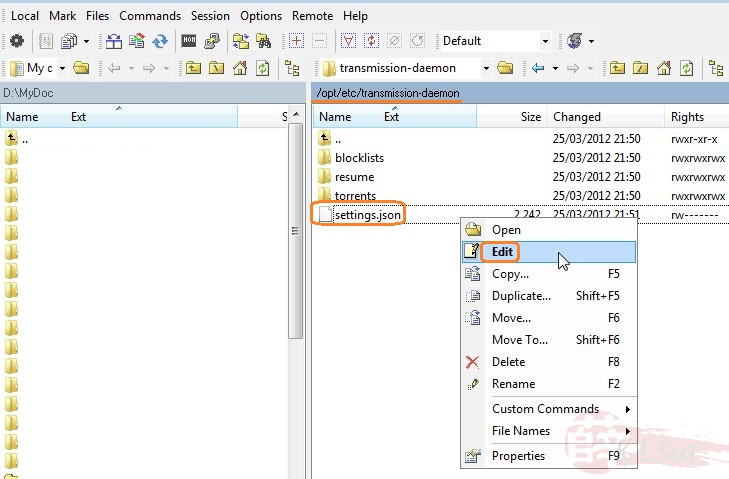
Go to /opt/etc/transmission-daemon
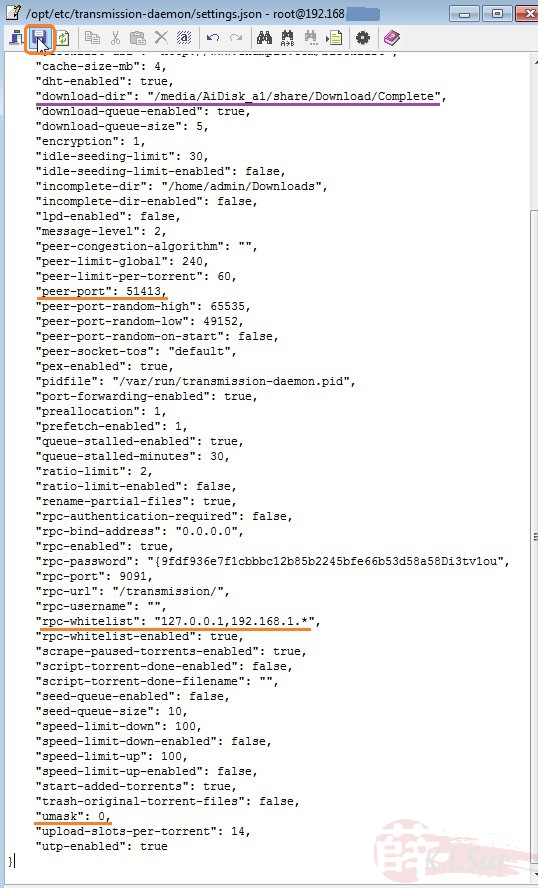
Edit the settings.json file
(Note: Always copy & backup the original before editing)
Change the following accordingly
Click Save button on top when done
(Note: So far this is the first Transmission installation where I noticed the download directory was created automatically on the USB HDD itself, interesting !)
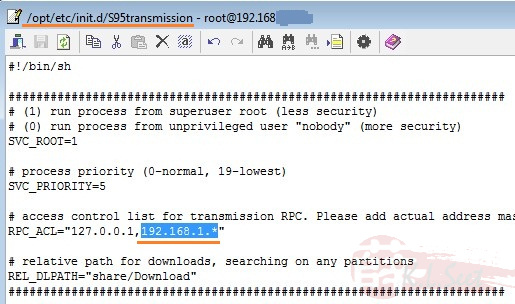
Optional: If your LAN submask is different, go to change the following /opt/etc/init.d/S95transmission accordingly
Close both PuTYT & WinSCP
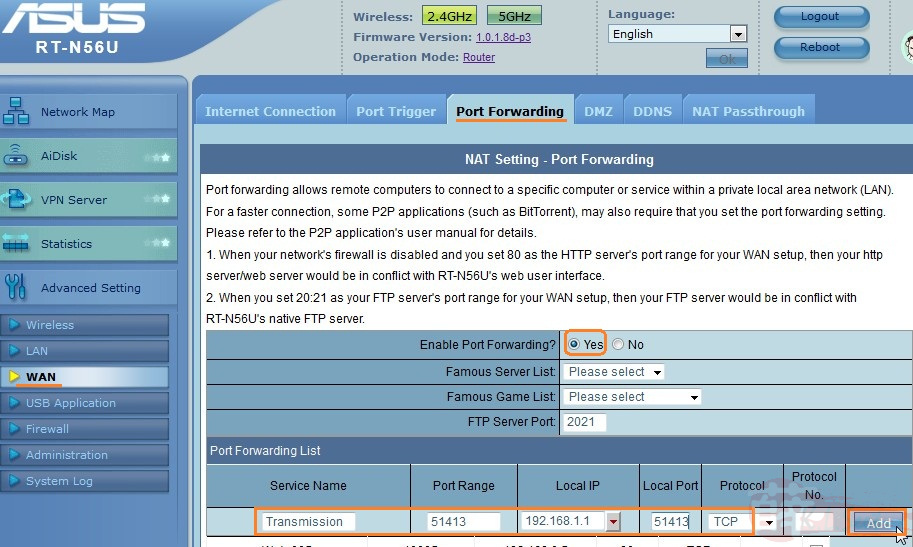
Back to webgui, go to WAN --> Port Forwarding :
- Enable the port forwarding option, click Apply
- Add port forward for the Transmission as follow
- Click Apply when done
Reboot the device

Transmission installation completed !
Running Transmission
Open the browser, enter the following address, the Transmission webgui will appear
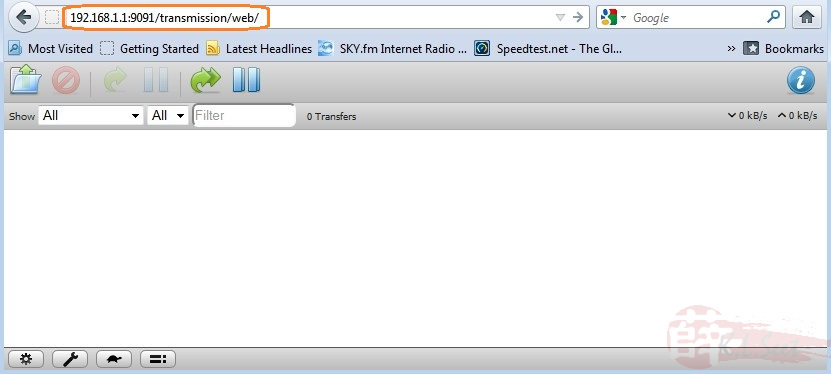
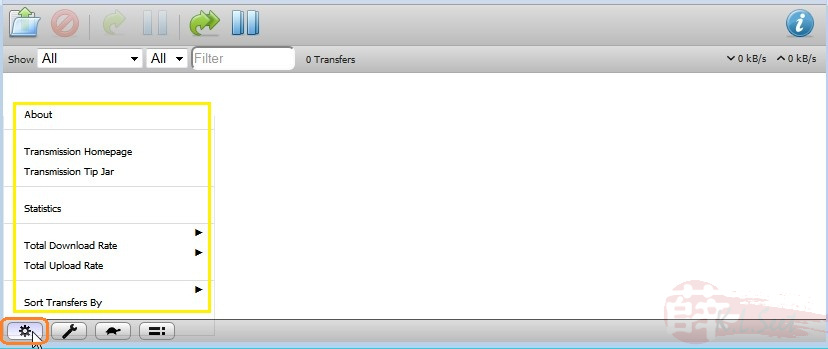
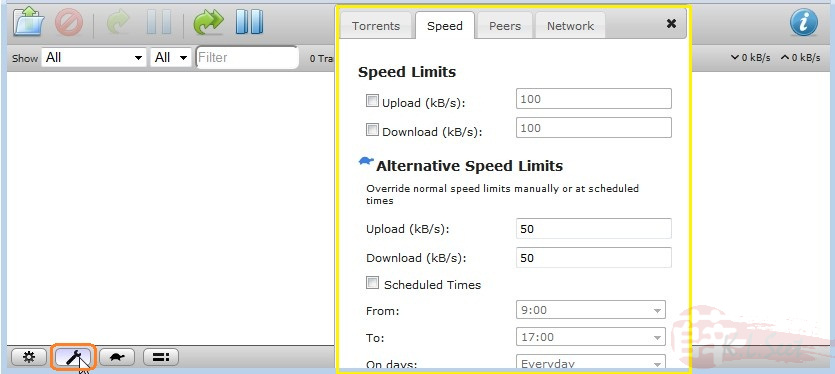
Noticed the option icon at the lower left of the screen, click to see those option available
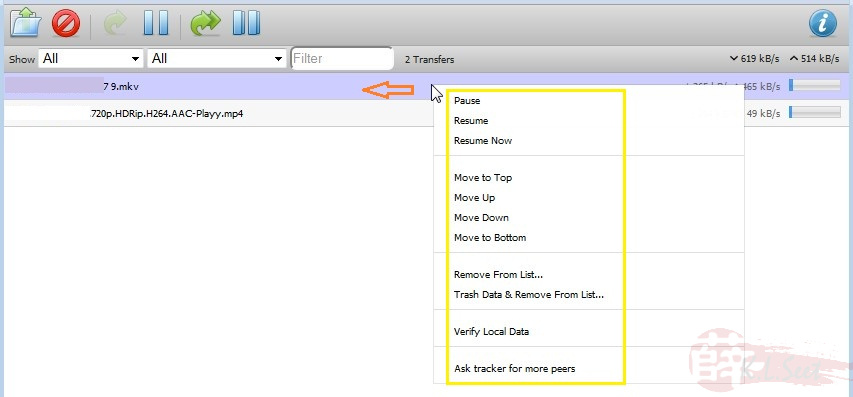
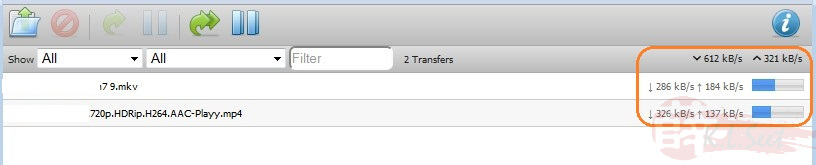
I tested 2 new torrent, it was quick to download at fully speed!


Right-click the torrent file to see some option available below
Click on the " ! " sign on top left screen to see more torrent details as follows
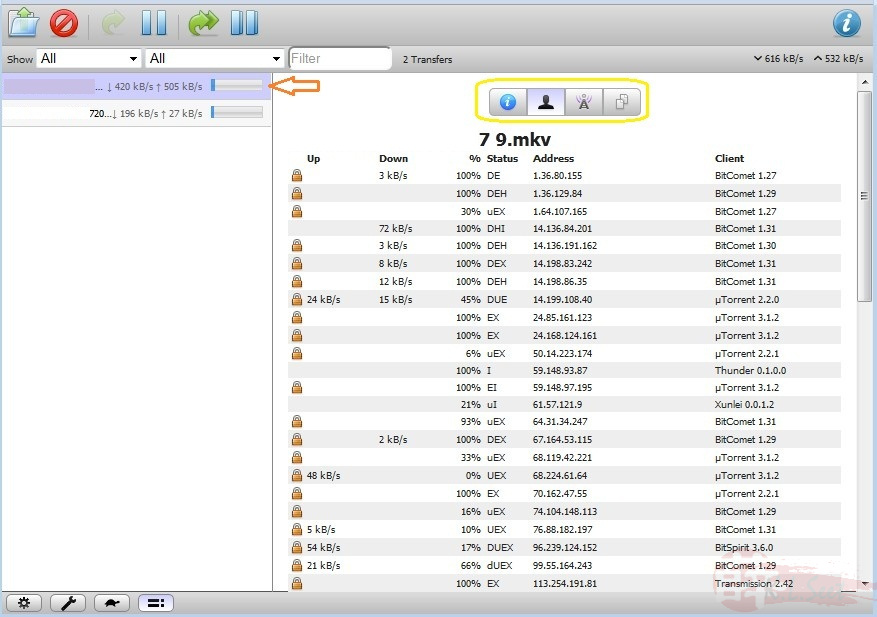
The device's high spec can handle the hungry Transmission easily, no problem for me to torrent all the way at full speed, nice !

That is, enjoy your torrenting kuat-kuat ! 
.