


Firmware Restoration - Win7
IMPORTANT : Ensure you perform Factory Restore procedure BEFORE & AFTER flashing the firmware.
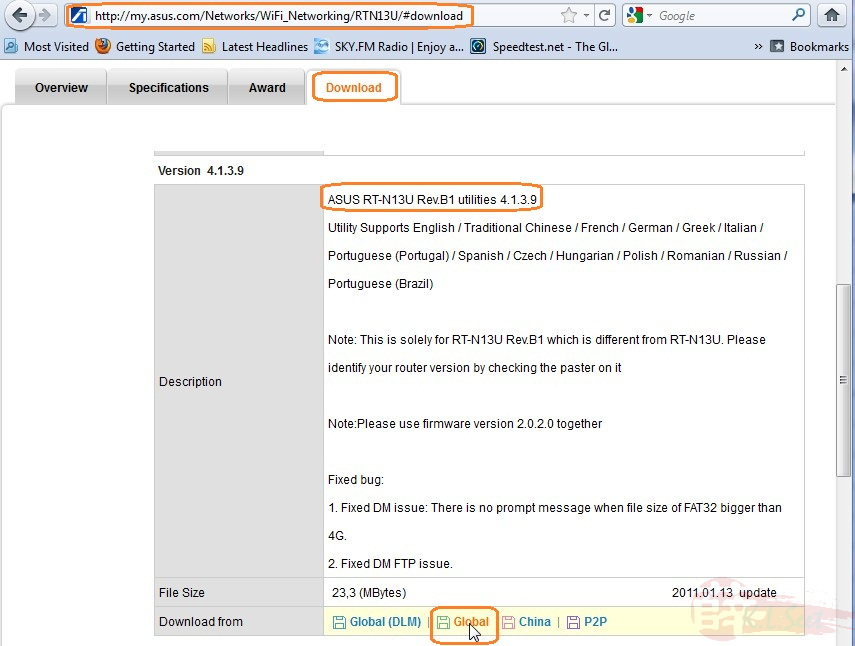
Download the latest ASUS RT-N13U-B1 Utilities and install on your computer/laptop : http://my.asus.com/Networks/WiFi_Networking/RTN13U/#download
DO NOT connect any network cables except the one to your computer/laptop
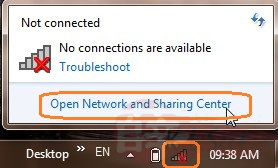
Click to open the little network icon on bottom right screen, select the "Open Network & Sharing Center" option
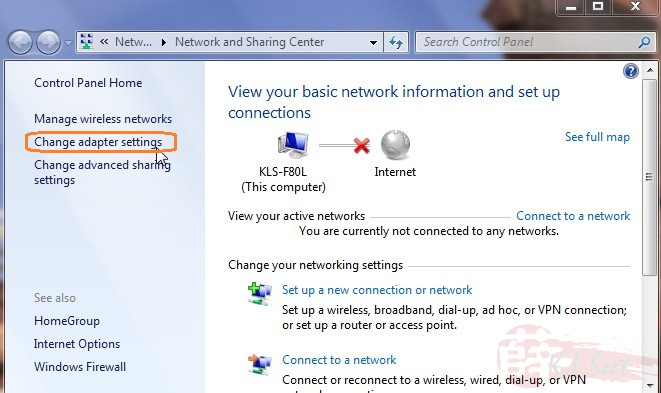
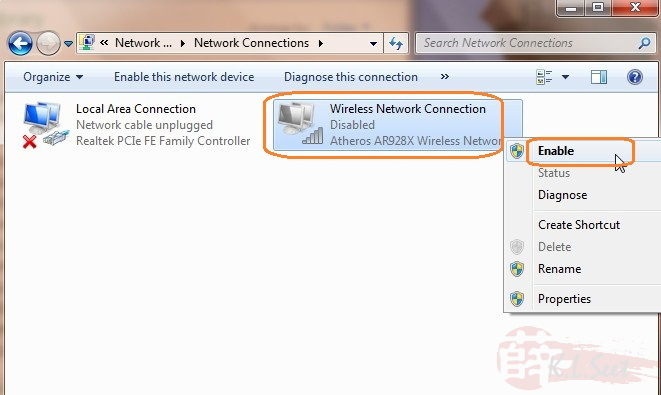
Select the "Change adapter settings" option
You should see a list of all the interfaces here, disable all others except the LAN
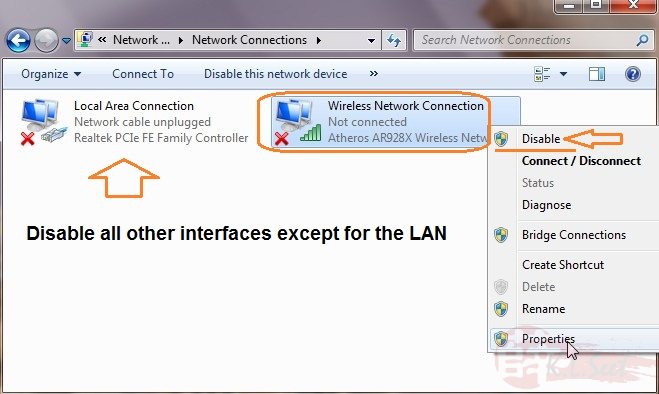
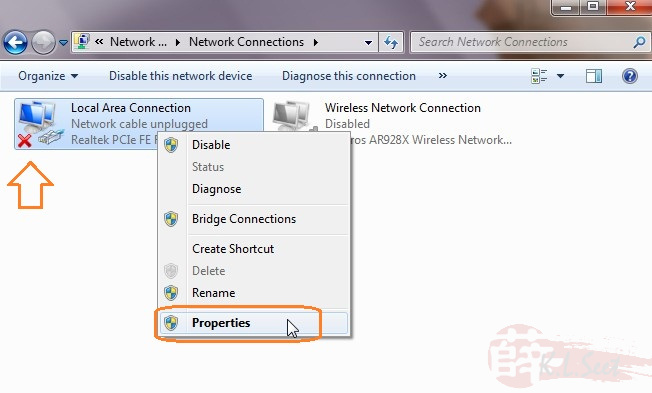
Right-click on the LAN interface, select "Properties"
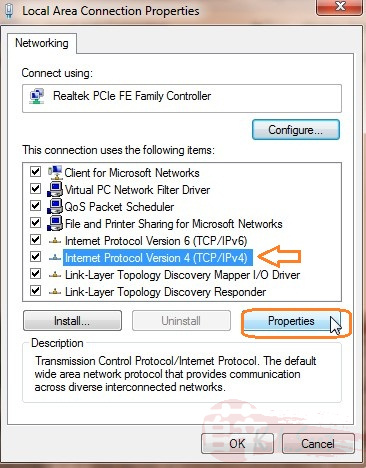
Select TCP/IPv4 option
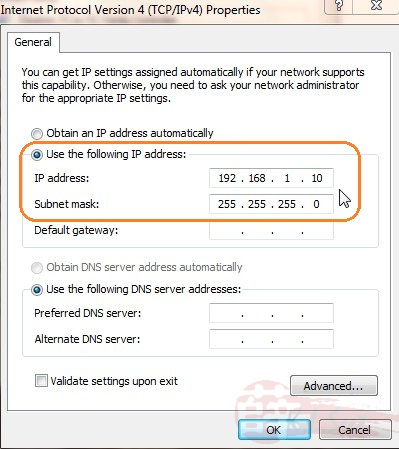
Manually assign fixed IP: 192.168.1.10 / 255.255.255.0
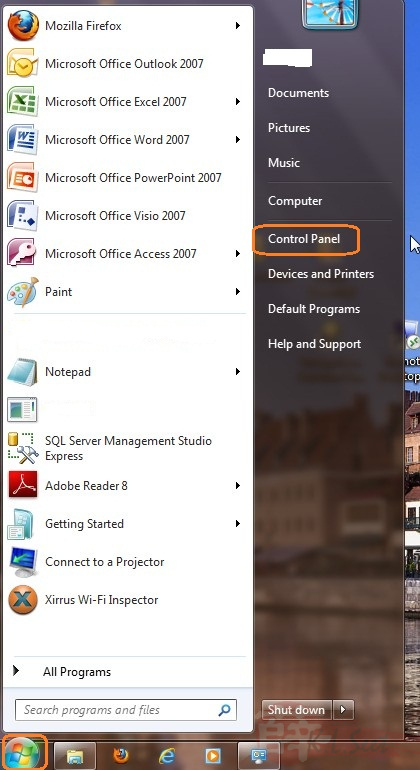
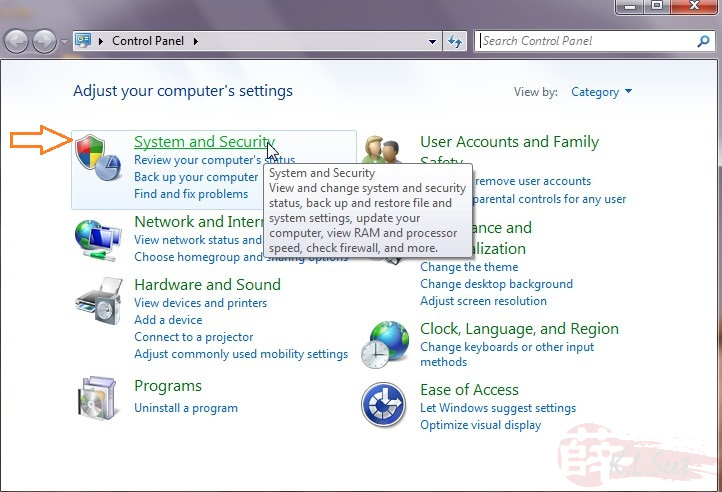
Next, click "Start" and go to "Control Panel"
Select the "System and Security" option
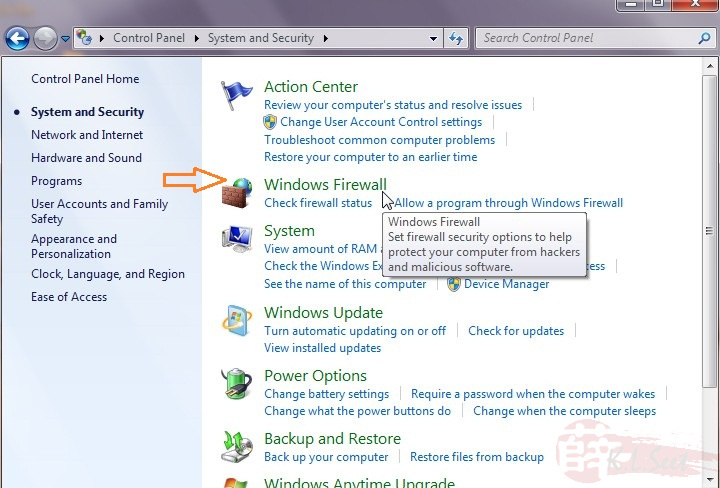
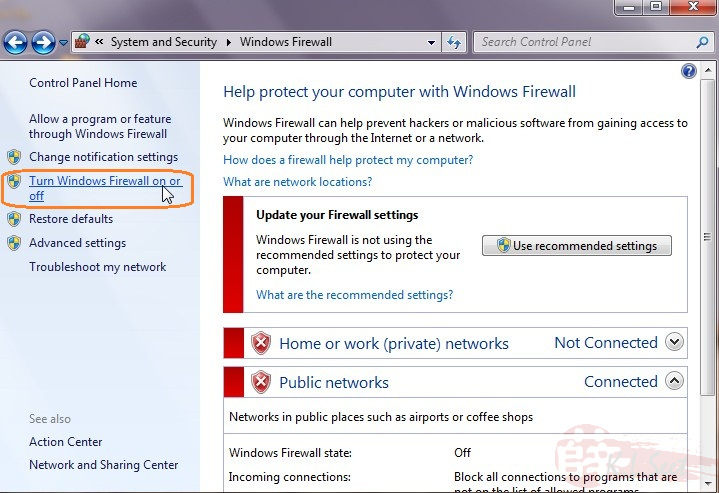
Select the "Windows Firewall" option
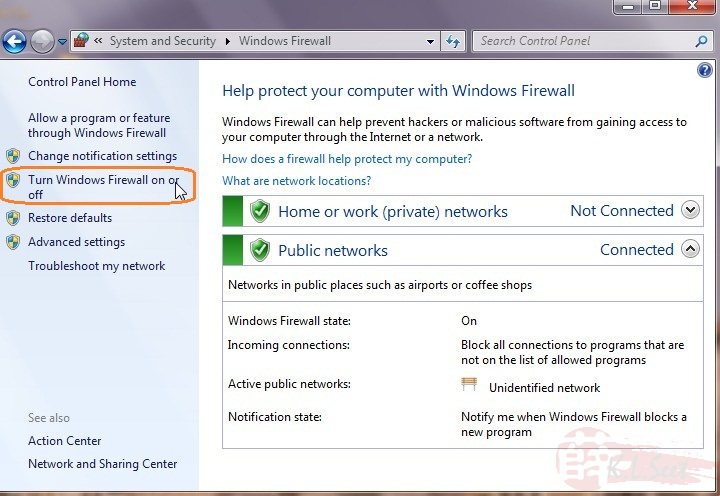
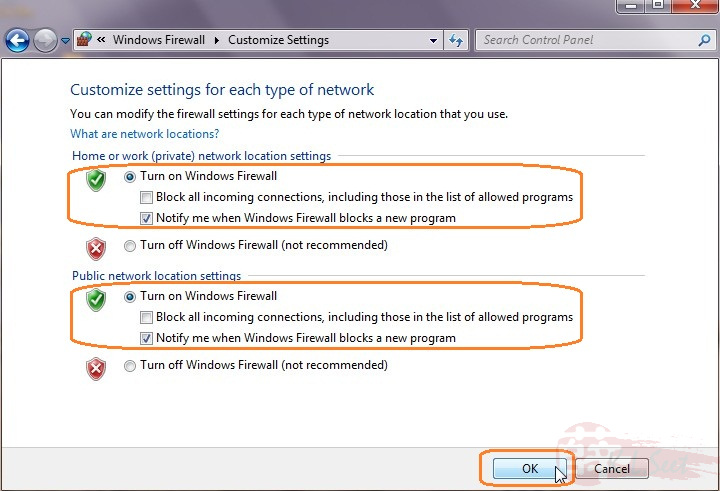
Choose "Turn Windows Firewall on or off" option
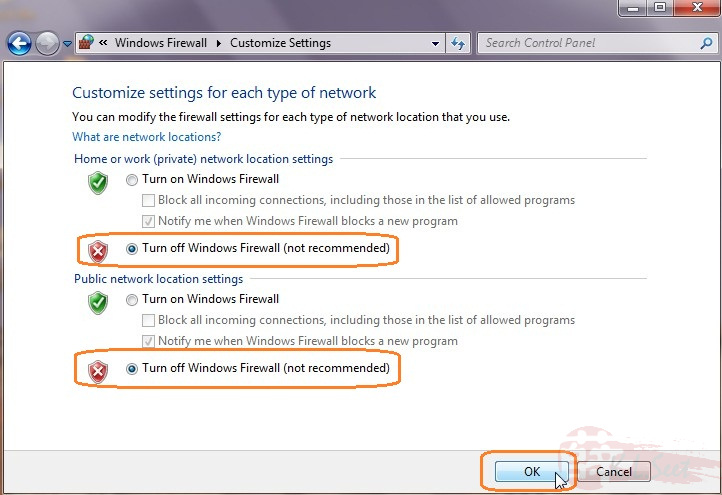
Temporary turn-off the Windows Firewall
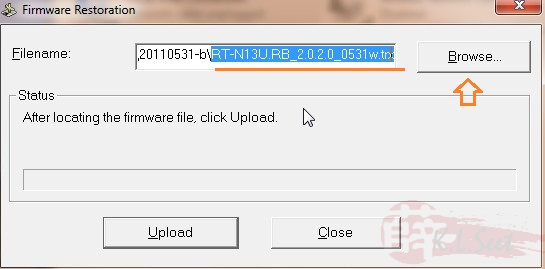
Now run the ASUS Utilities Firmware Restoration application, browse to locate the correct firmware on your computer/laptop
DO NOT click "Update" yet !!
On the device itself:
- Unplug ALL cables, only connect 1 LAN port cable to your computer/laptop
- Use an object, press and hold the "Restore" button located at the bottom of the device (make sure you feel the press-down !!)
- While holding on the "Restore", plug-in the power cable
- After more than 10 seconds, observe and ensure the power light start to blink continuously before continue to the next step

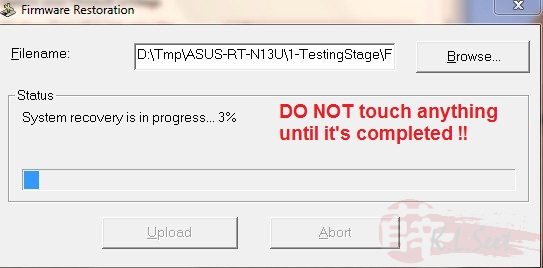
Back to the Firmware Restoration, click "Upload", DO NOT touch anything until it's fully completed, any interruption may brick the device !!
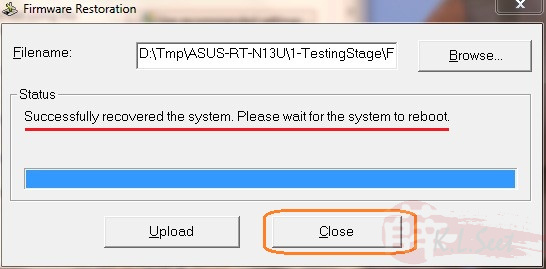
Once completed and the device rebooted successfully, click "Close", basically you may proceed to setup UniFi
Don't forget to do the following again:
- Turn-on the Windows Firewall
- Set TCP/IP Obtain IP & DNS Automatically
- Re-enable all other interfaces

After completing the above, you may proceed to setup UniFi.